Rhea and I decided that wizard staff's would be appropriate Hannukah gifts for Levi and Oliver. Since I have the large supply of walnut an appropriate board was selected. It is 1 3/8" thick and 3 1/2" wide. One edge was very rough. Two 50" long pieces were cut from this blank on the table saw. Two passes were made to cut through the thick board. Two featherboards were used to hold the stock.
The plan is to reduce almost of the board to 1" diameter. A handle will be further reduces to 1/2". Finally, a 3" section will be left with four flat sides for inscribing runes. Eventually, a crystal will be mounted on top of the staff. Two were purchased from an Etsy shop. The crystal will be mounted with FiberFix. The handle will be located 25" from the bottom of the staff. 3" above the handle the flat sided rune section will begin. The 50" long boards were cut to 44". They may be shortened further as needed at the top or even 1-2" at the bottom.
The boards were too long to use the South Bend lathe. The bed is only 40" and the spindle opening is only 3/4" wide. A board was clamped in the Sjoberg vise and a small plane was used to remove the corners. After planing to an octagon the board was rounded with the plane. Since a section is left unplaned there is quite a bit of length that was not fully planed to the 1" diameter. The rest will need to be reduced by carving. A photo below shows the staffs at this point.

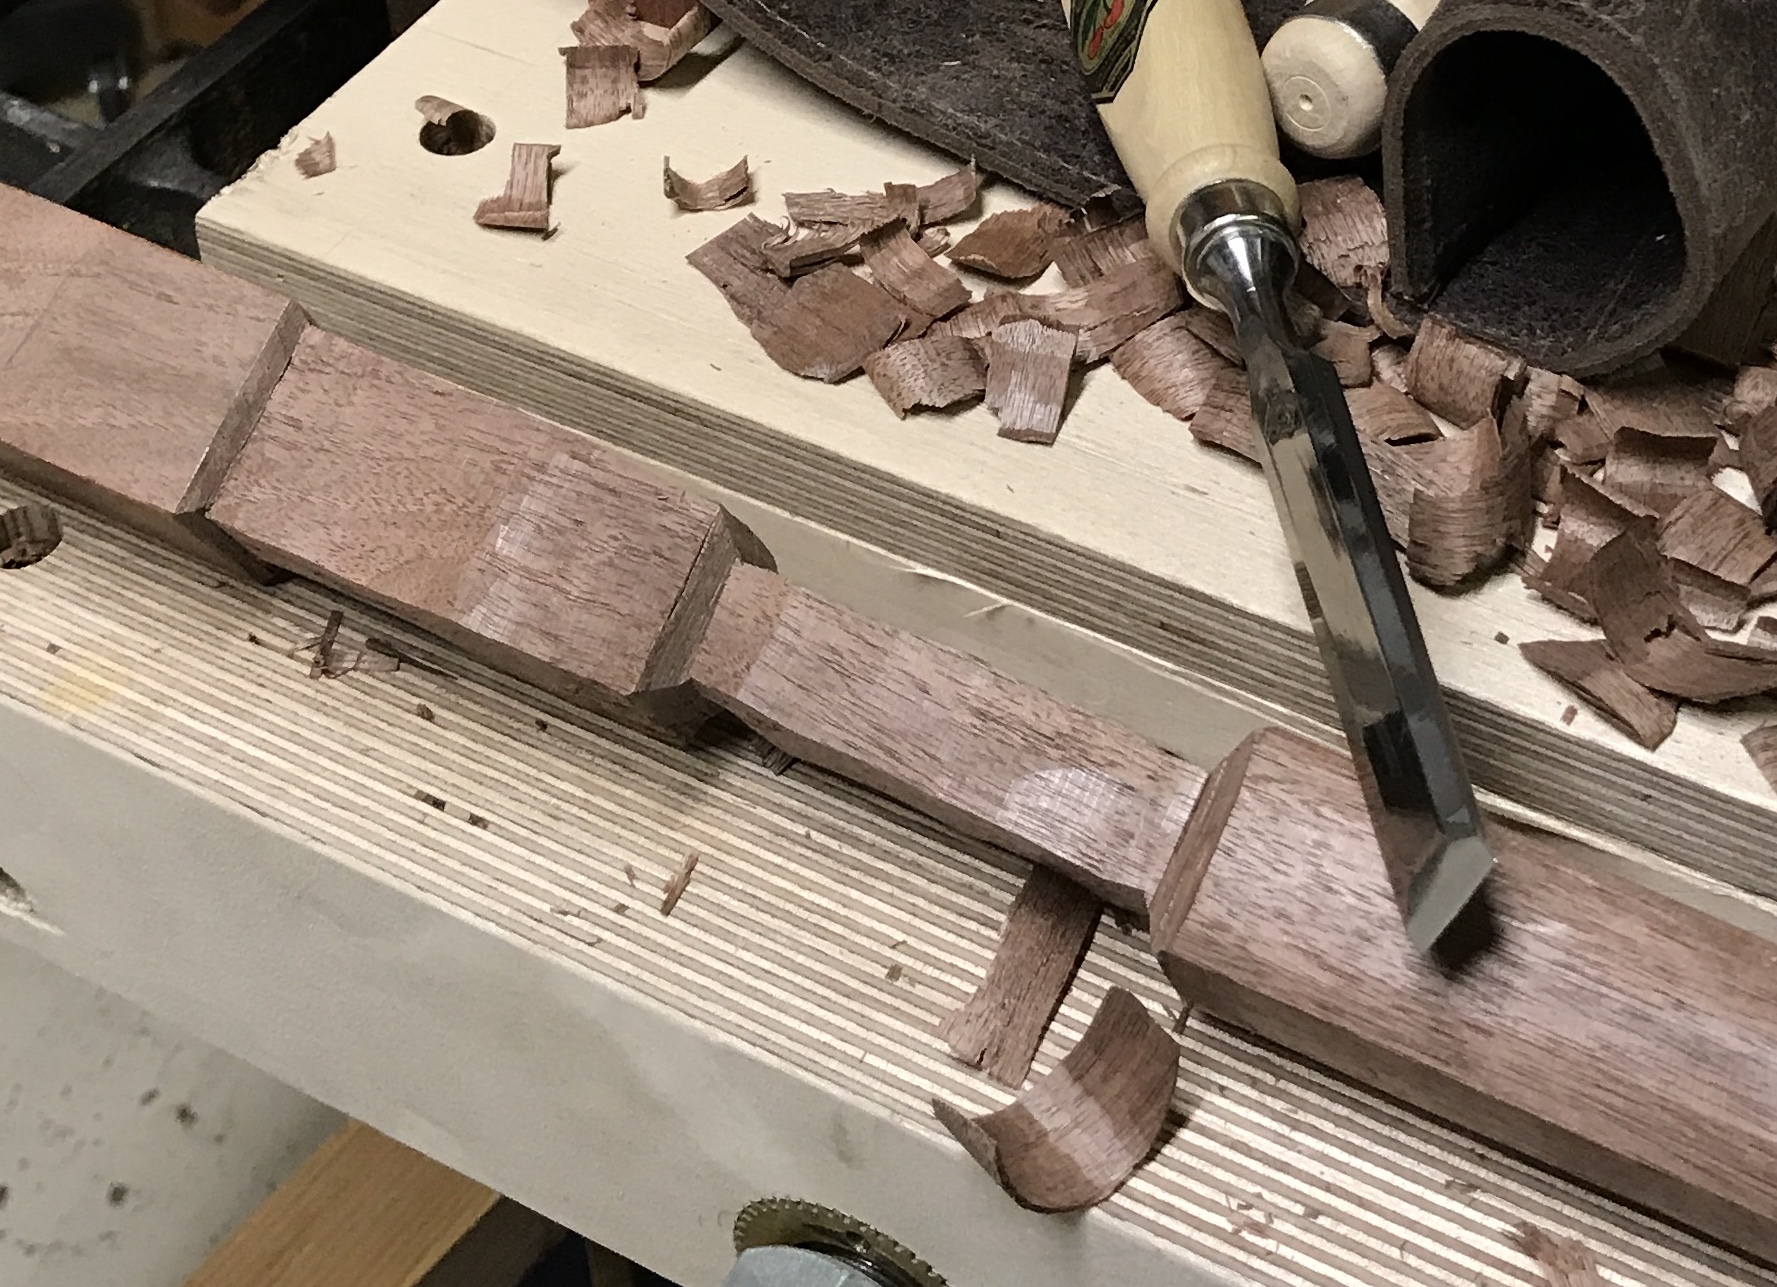
The remainder of the wood removal has to be done with a chisel. A lot more labor intensive and a lot less smooth. Hopefully some sanding will come to the rescue. After about four hours one of the staffs is getting close as seen below. It is reasonably easy to get close to the desired diameter working on four sides. It is more difficult to turn this square profile into the desired round profile.
A sharp scraper might work, though it removes very little material per pass. I tried the scraper on the handle. I quickly turned the square profile into an octagonal one. It also left the faces quite smooth. It was pretty hard work, because the burr was very small.
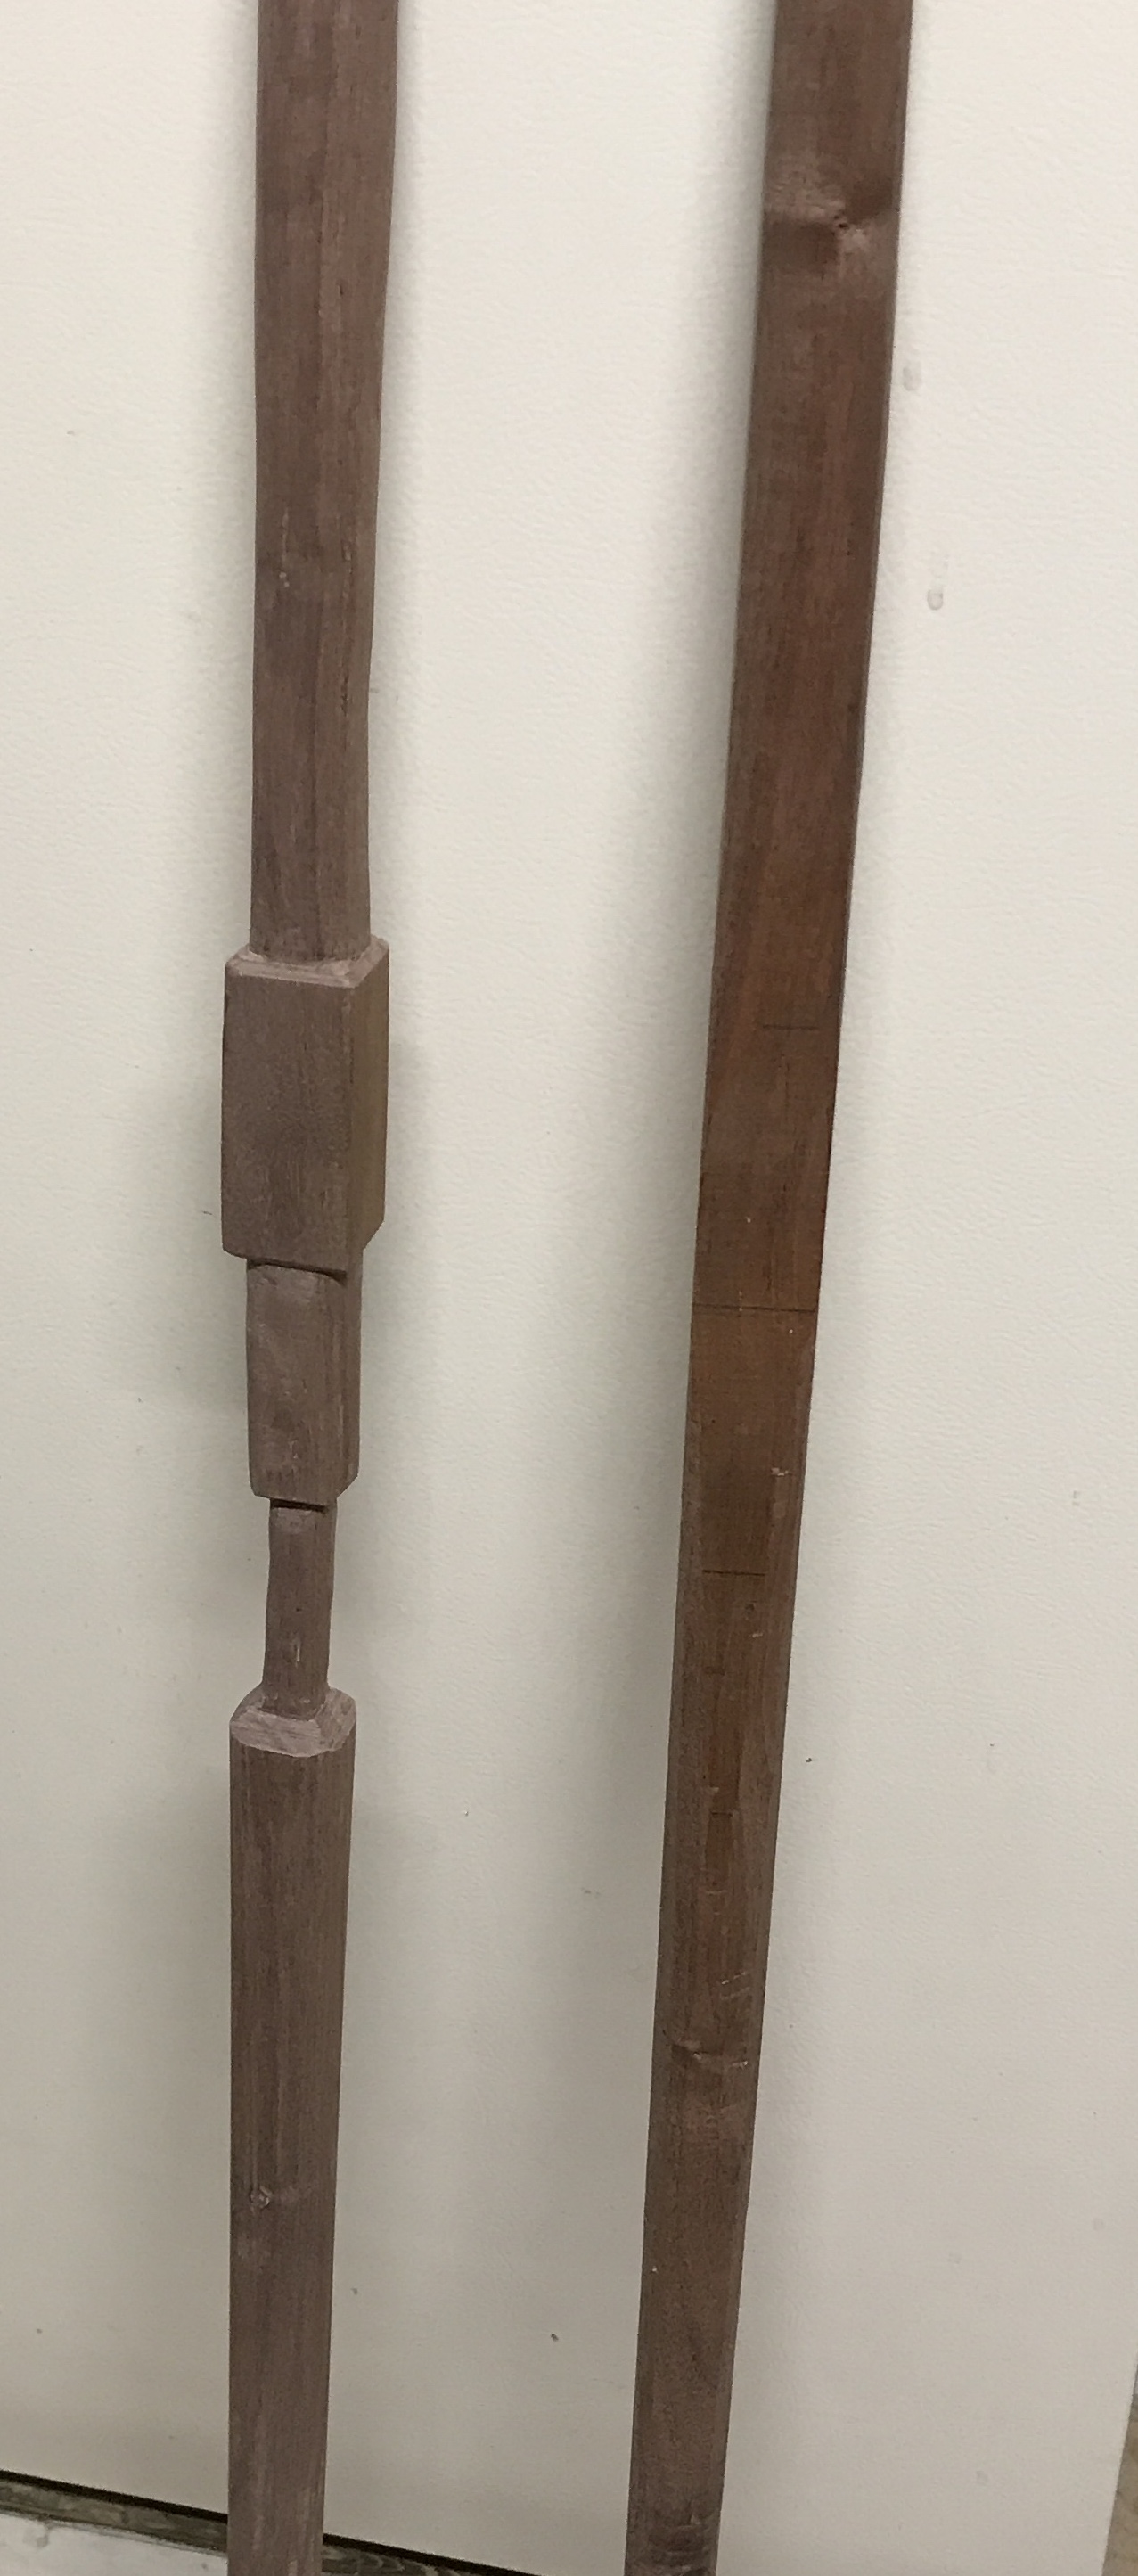
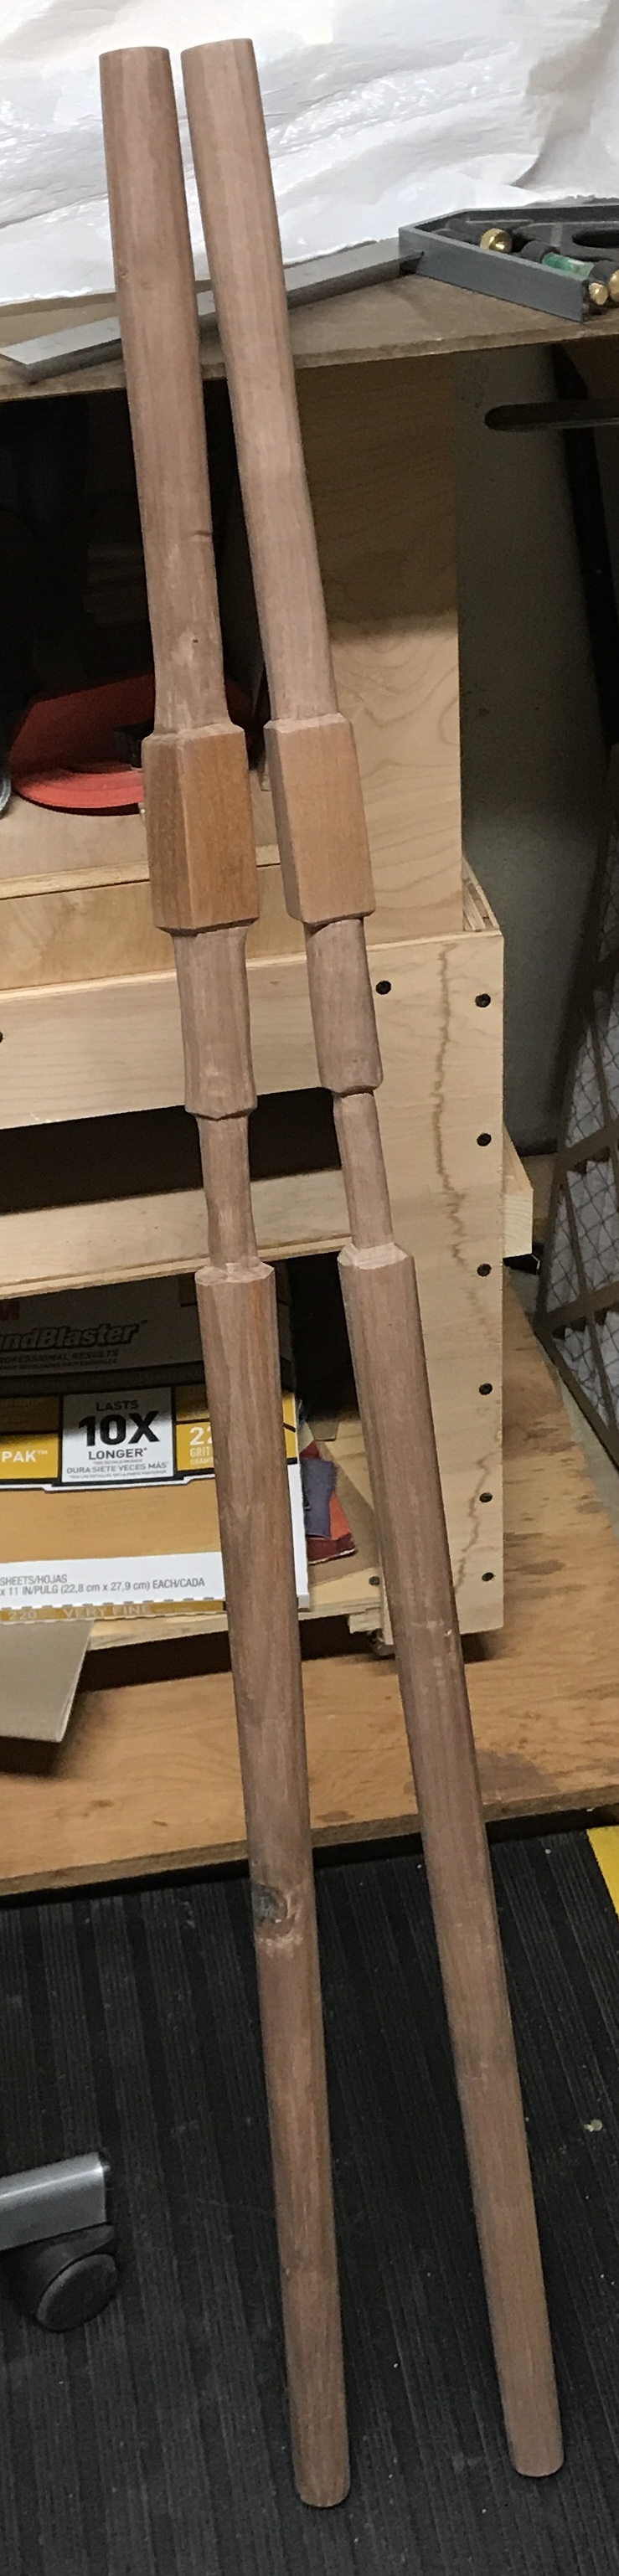
I put a new burr on the scraper. I followed the procedure in the article in DevonThink. (General Thoughts>Woodworking>A Better Way to Sharpen Scrapers) I put a burr on both faces of the same long edge. The edge was filed on the jig. The edge was stoned on the gray stone in the woodshop. The faces of the edge were stoned laying the scraper on a ruler. Both faces were burnished with the burnisher lying flat. Using the jig a burr was formed on both edges. The sharpened card scraper cut like a dream. I shaped a number of places and smoothed some areas where the grain protruded. The handle was rounded and the area above it was shaped. The entire staff was sanded with 150 grit paper. It is shown in the photo below next to its roughly shaped twin.
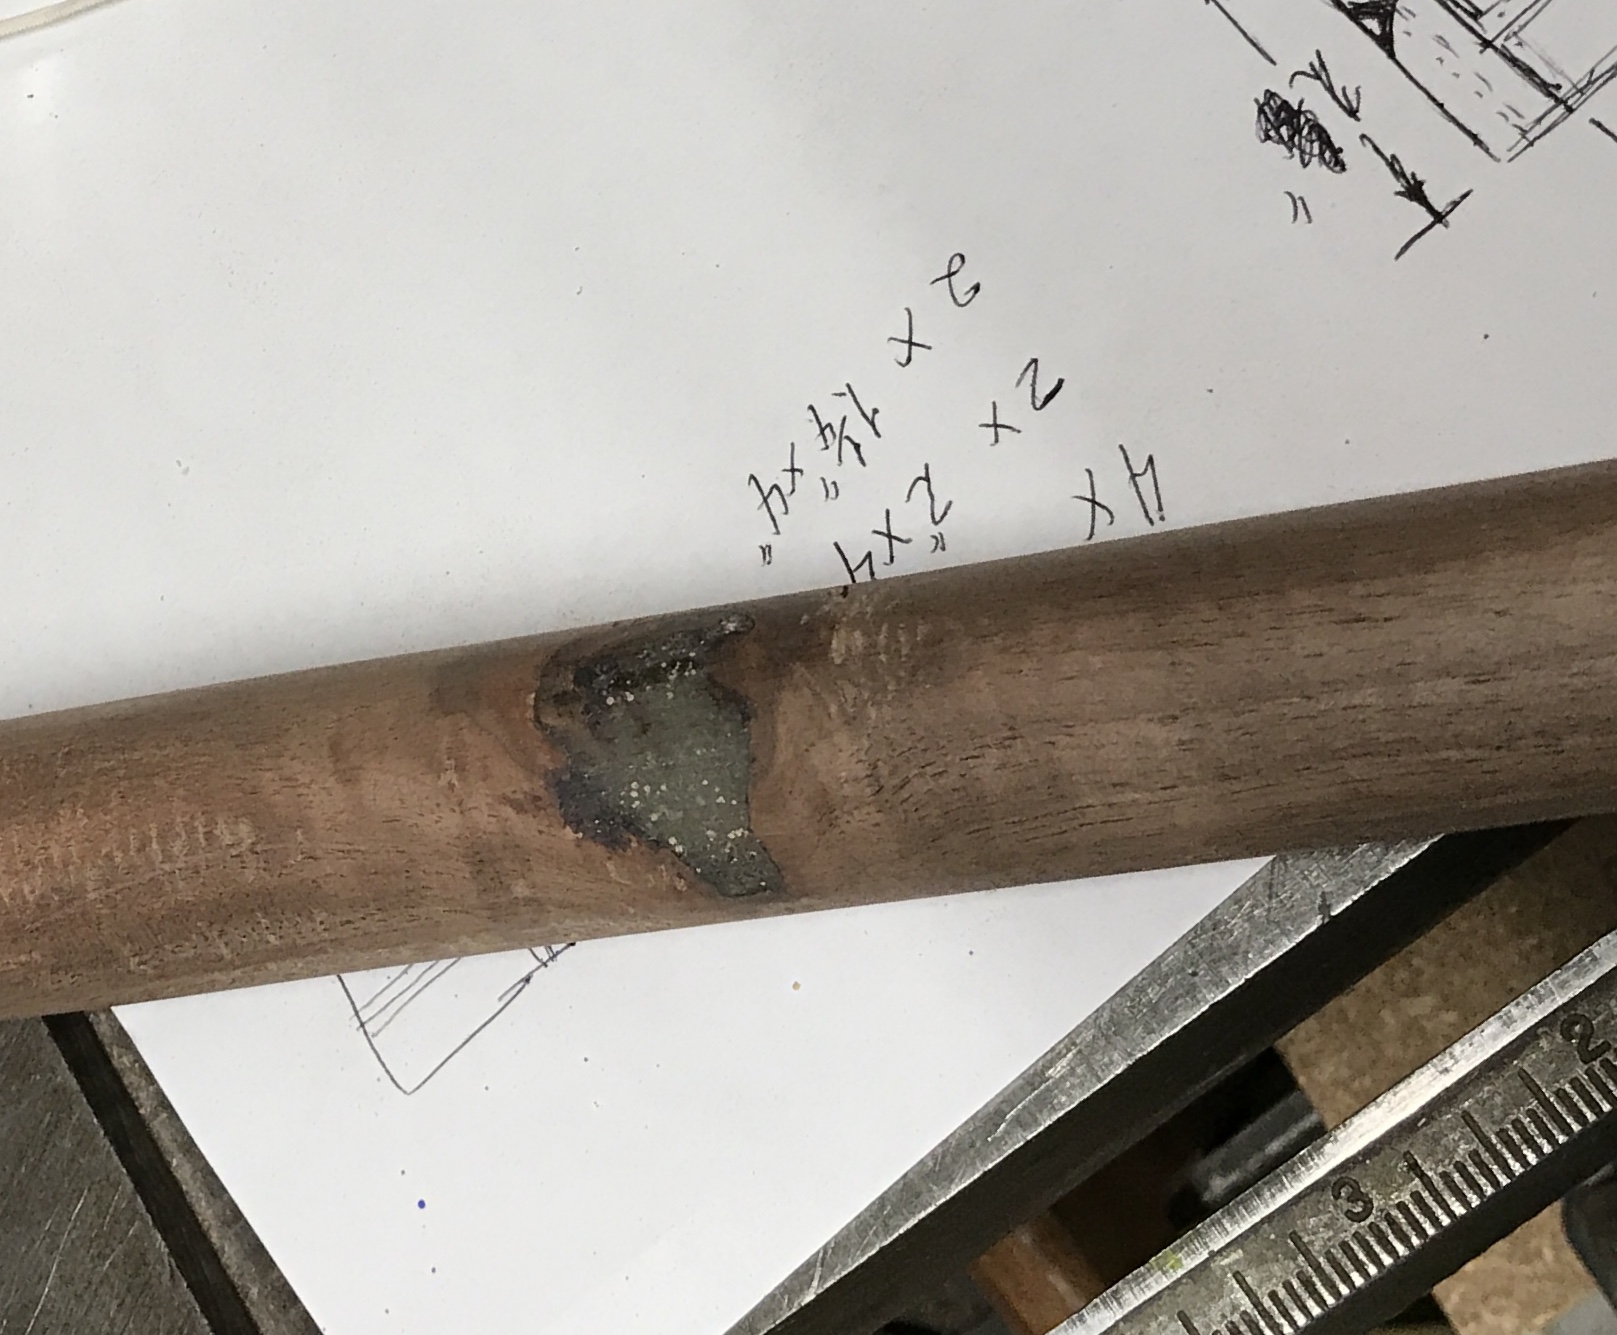
The roughly shaped twin was completed today. The same process was used as on the first. It has a pretty deep cleft in the bottom where a knot fell out. I plan to fill this with epoxy. I need to look up the process on the internet. It was fairly easy. The area was wrapped with painter's tape leaving an opening for the epoxy. The epoxy was mixed and poured into the gap. A paper clip was used to make sure the epoxy completely filled the holes. After about 18 hours a second layer of epoxy was added to overfill the hole as some settling was noticed. The epoxy dried for 36 hours. It was sanded flush with the wood using 100 grit paper. Both staffs were then sanded with 220 and 320 grit paper. The first picture below shows the sanded epoxy repair. The second photo shows the two staffs ready for the next steps.
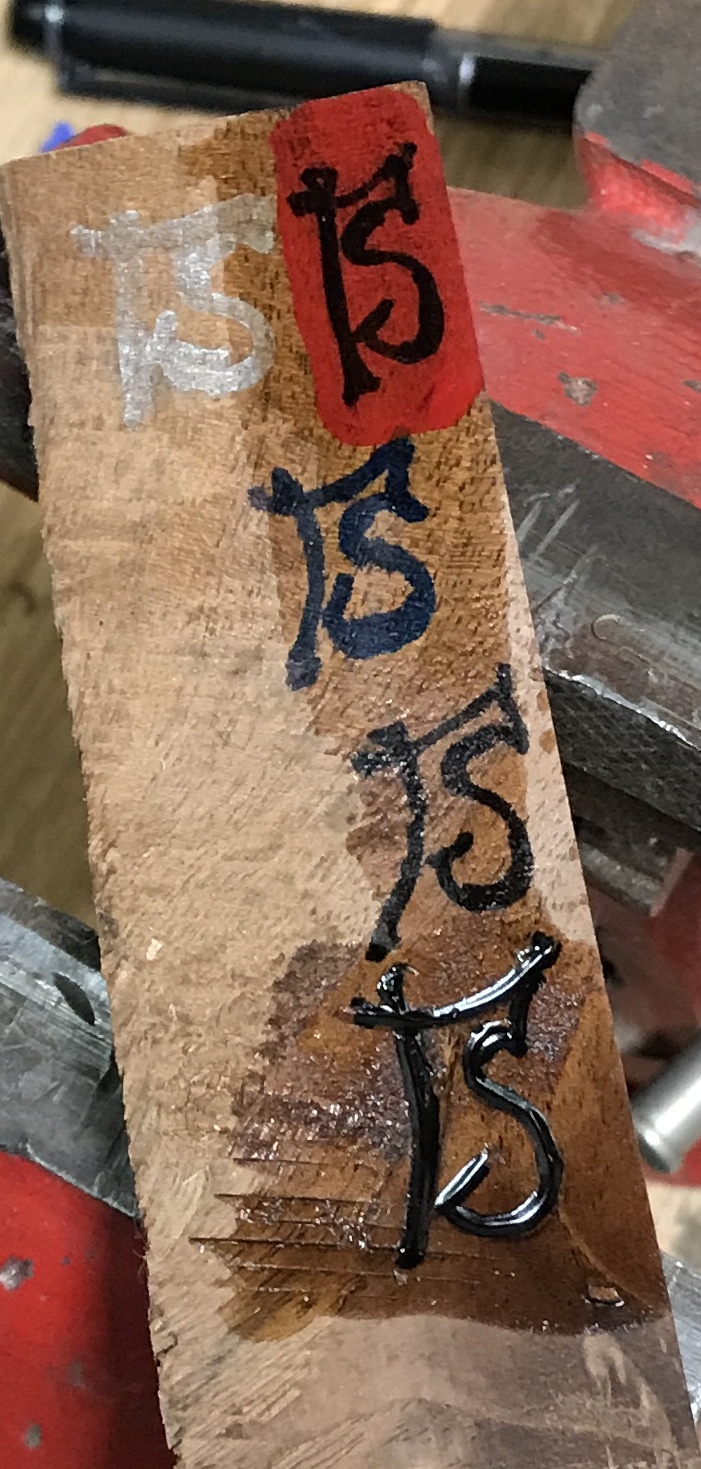
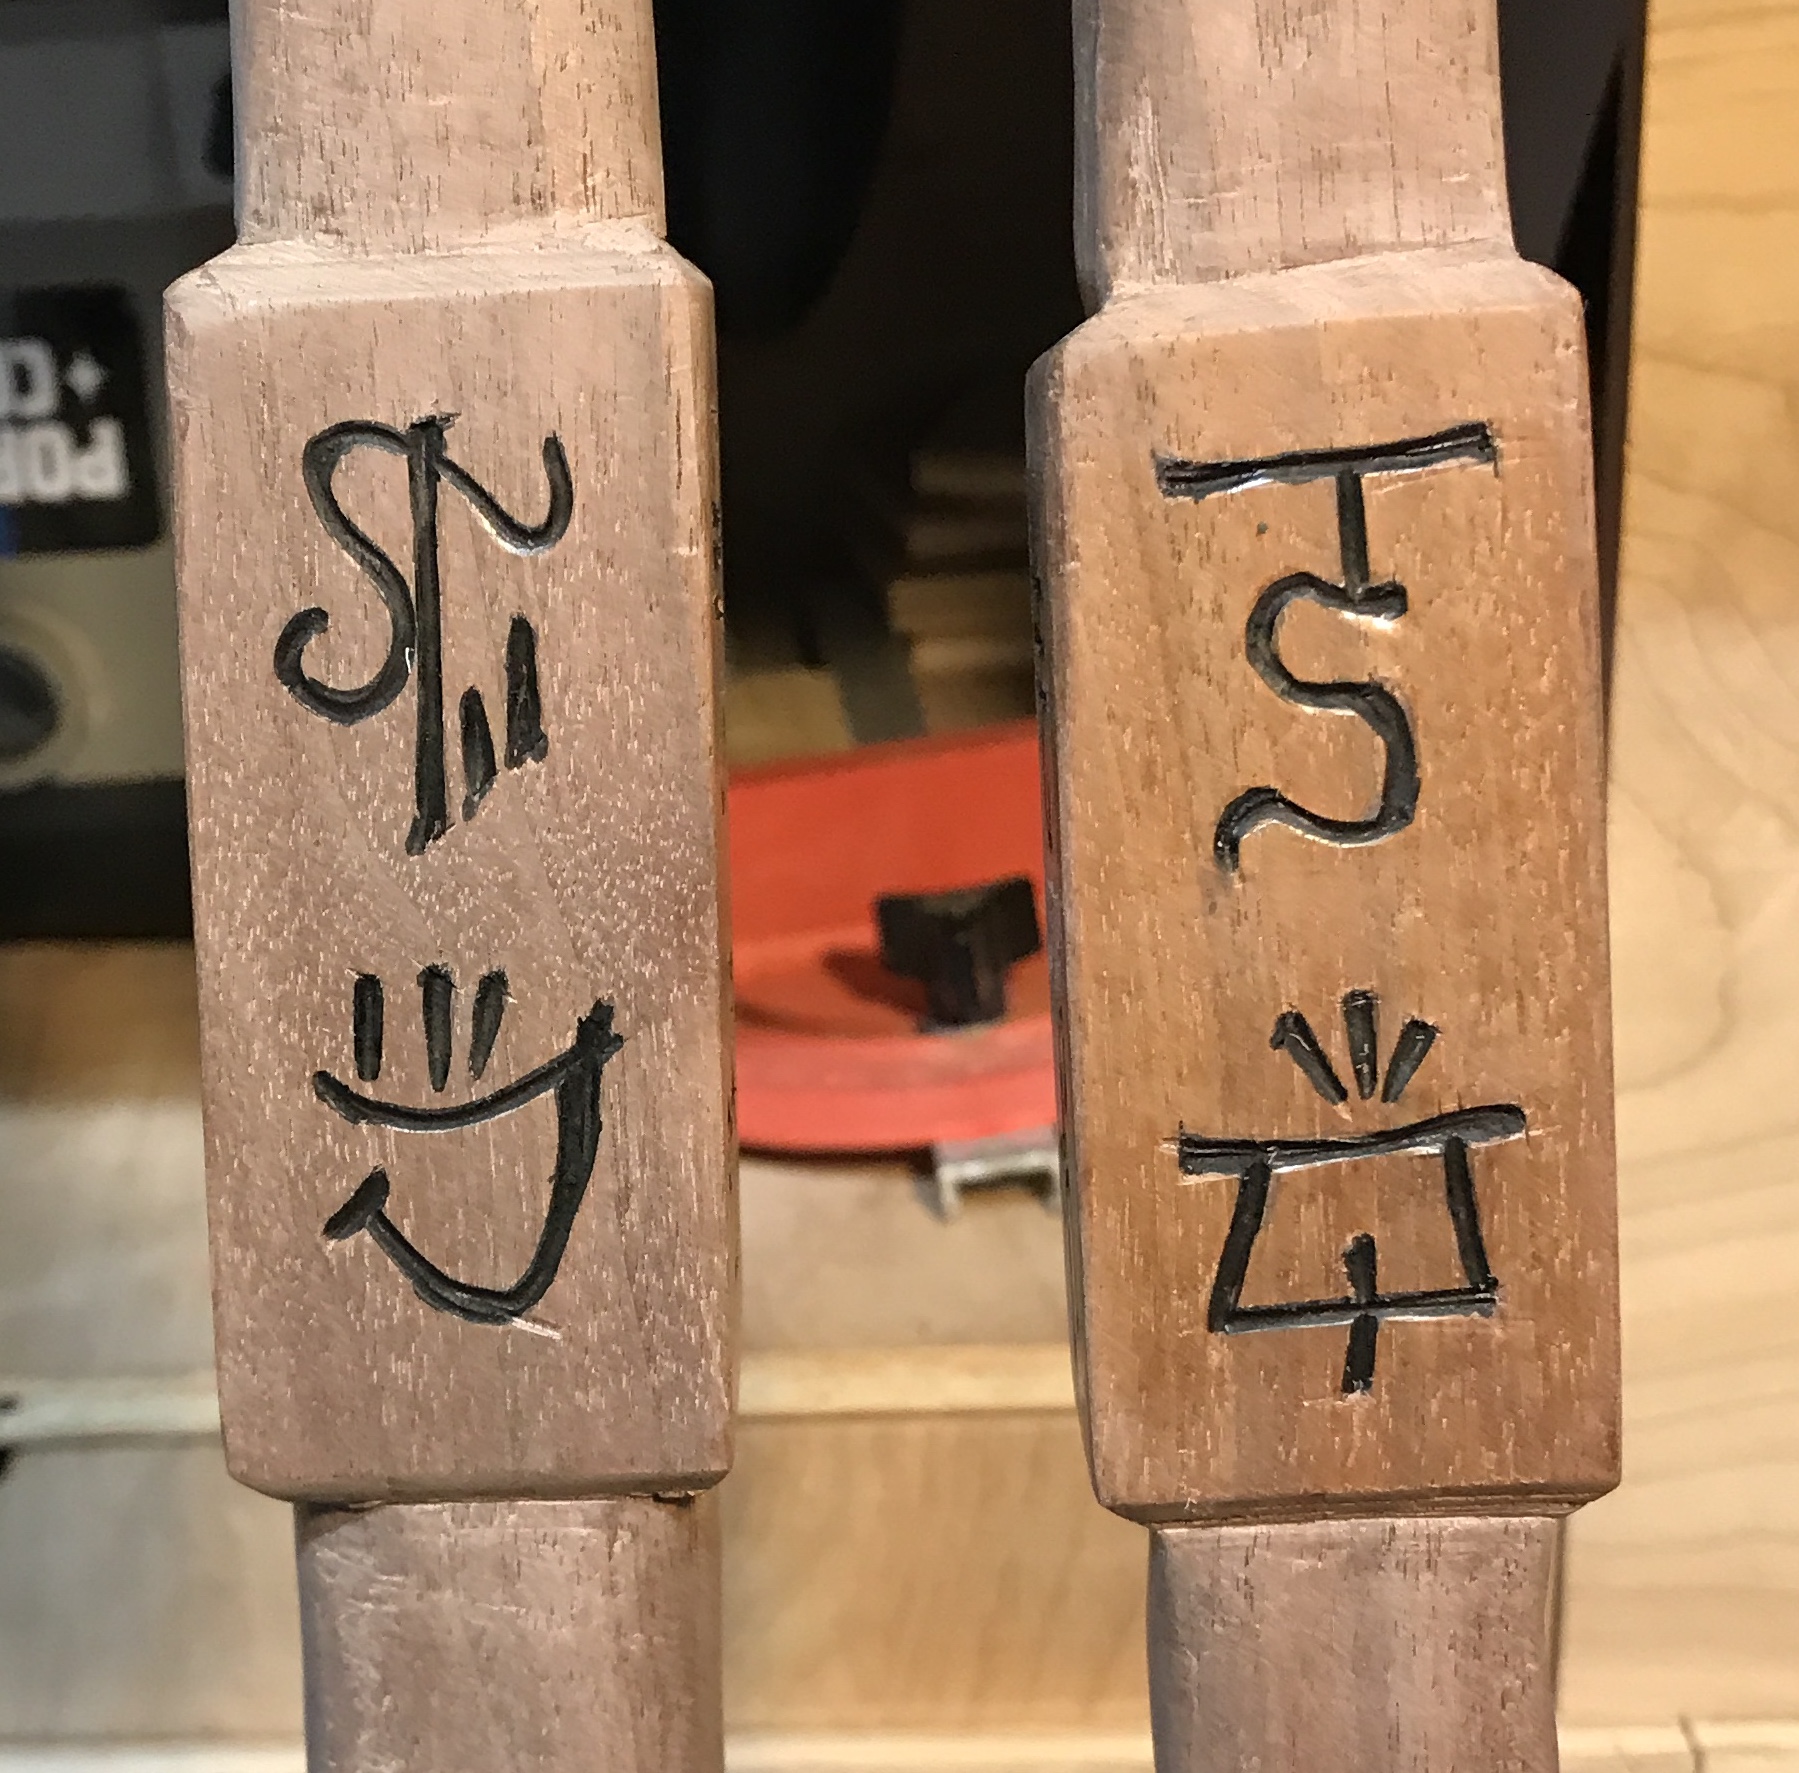
Appropriate runes were selected for both staffs. A scrap of walnut was used. Two runes were sketched onto the walnut. A carving chisel quickly carved pretty nice runes into the scrap. I was unable to put paint into the carved lines. The paint was scraped off giving a pale red background with bright red runes. This was okay, but not great. A few markers were tried. The only one that gave a fine enough line was the Pilot Bravo. The black stood out well against the dark walnut. I will also try the Pilot on walnut that has been painted red. The polyurethane did not cause the ink or paint to run. After looking at both for a while, I decided to go with the carved runes filled with ink from the pen.
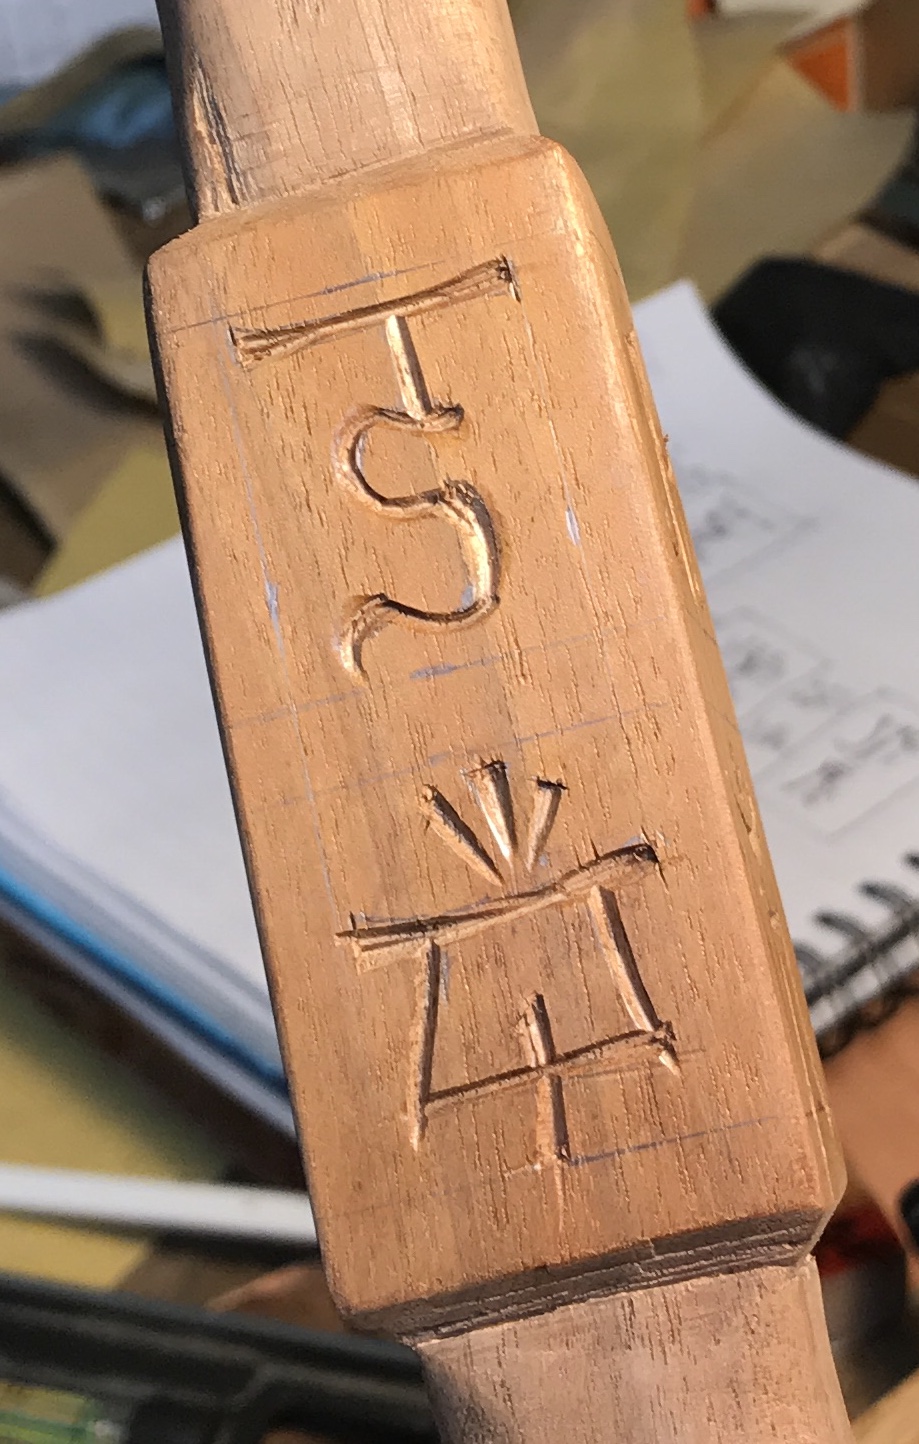
Margins were measured on each of the faces and marked with a pencil. A 1/4" border was used on all sides. The runes were drawn into each of the resulting rectangles. The runes were carved with the vee carving tool. It might have been easier with a smaller tool. The pencil lines were erased and then the pen was used to fill the runes.
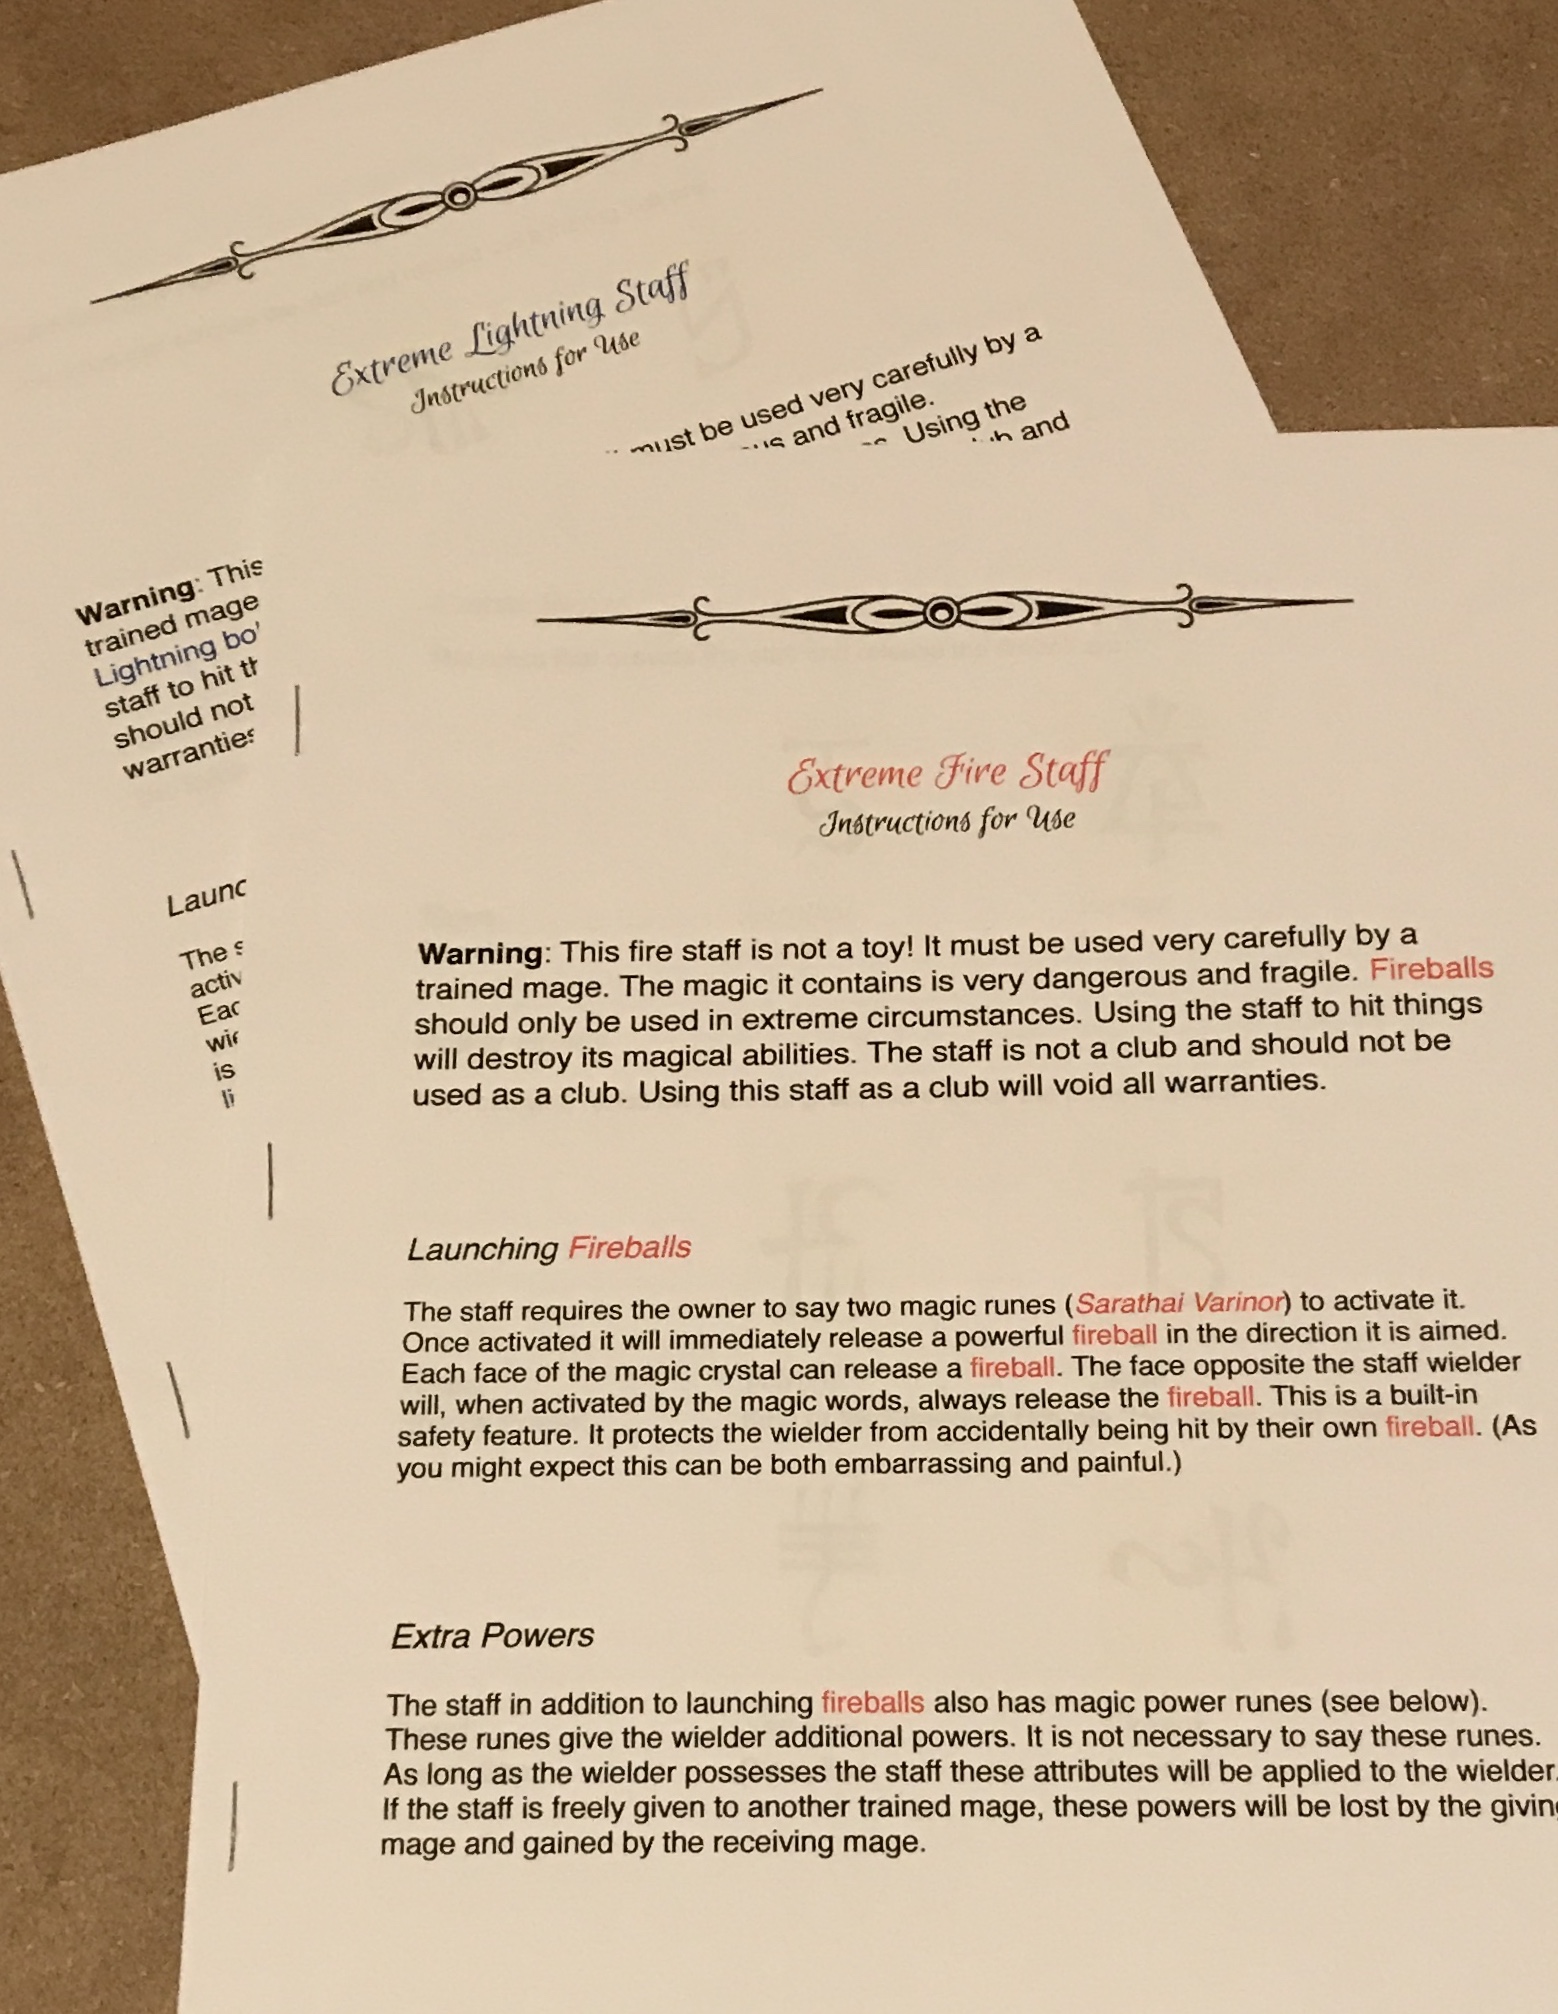
Meanwhile, both the crystals and the FiberFix have arrived. I have also made instruction sheets for the boys.
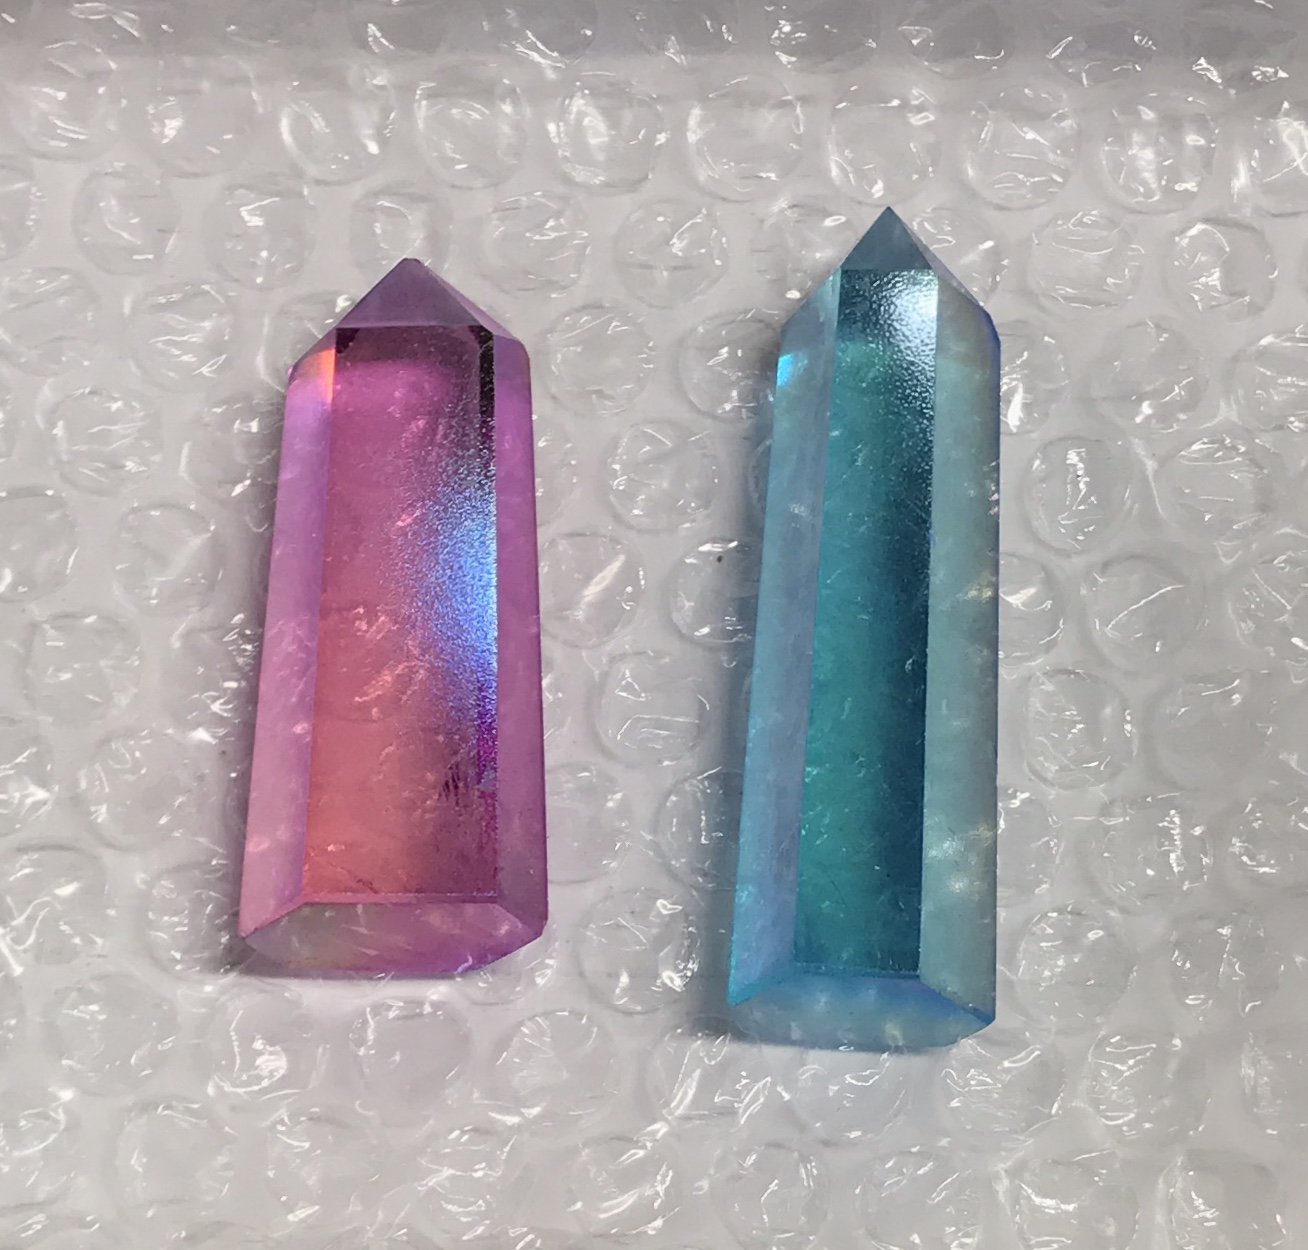
This morning was FiberFix time for both Rhea and I! The original plan was to wrap the FiberFix tape around the staff and crystal. This would be followed by twisting thing strips of the tape and using these to make a cage over the crystal. The top 2" inches of each staff were cut off with the table saw using painter's tape to minimize tearout. The bottom 1/2" of all faces of the two crystals were lightly sanded with 320 grit paper. The color on the crystals is just some sort of paint as it came right off during sanding. The crystals were mounted to the tops of the staffs with a small square of carpet tape.
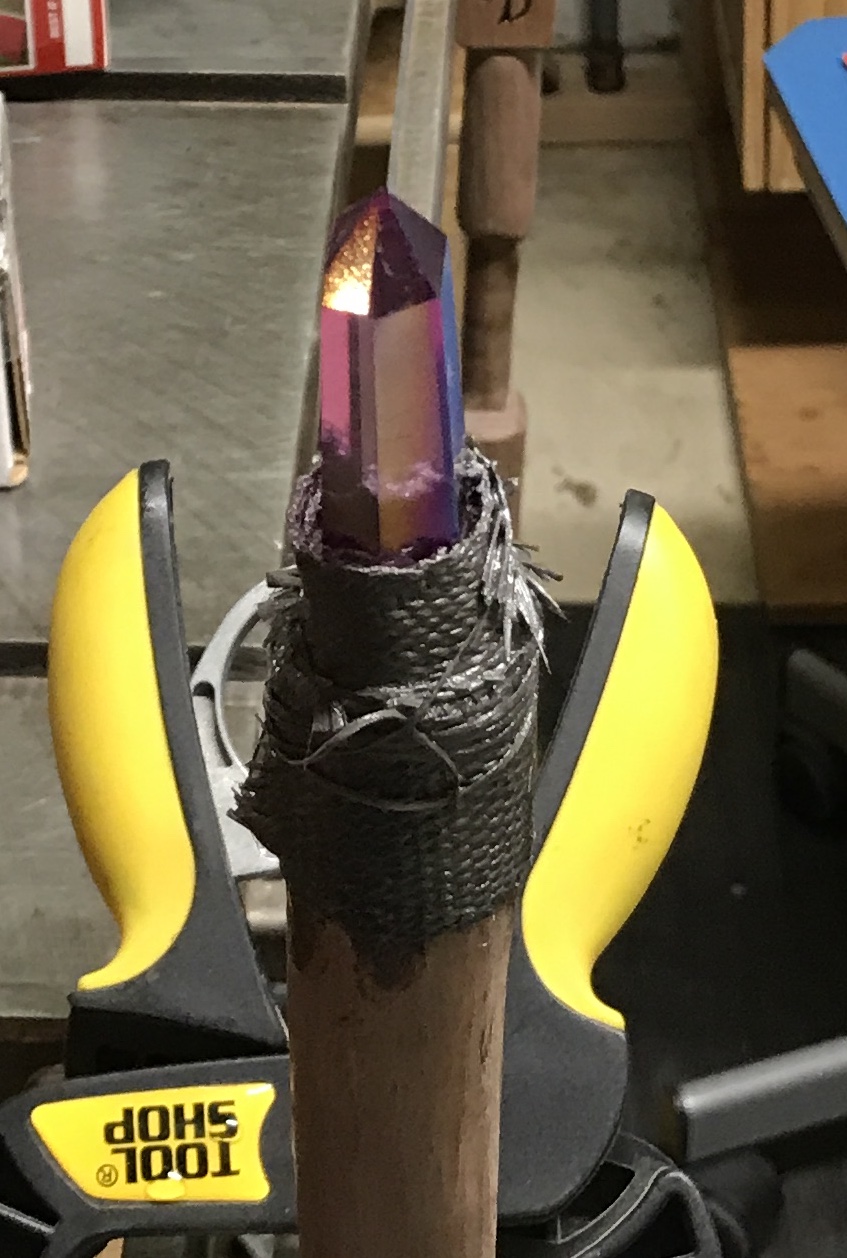
Two 12" lengths of the 1" tape (which turned out to be 1 7/8" wide) were cut with a retractable blade. They were dunked in warm water and wrapped around the staff/crystal. It was difficult to get the tape to bend in around the smaller diameter crystals. A 3/4" wide piece was cut that was wrapped around the top only. There were still gaps between the tape and crystal. We decided there was nothing we could do in the time remaining, so we let the tape harden. After hardening a tug on the crystal showed that it was tightly held to the staff. The gap can be seen in the photo below.
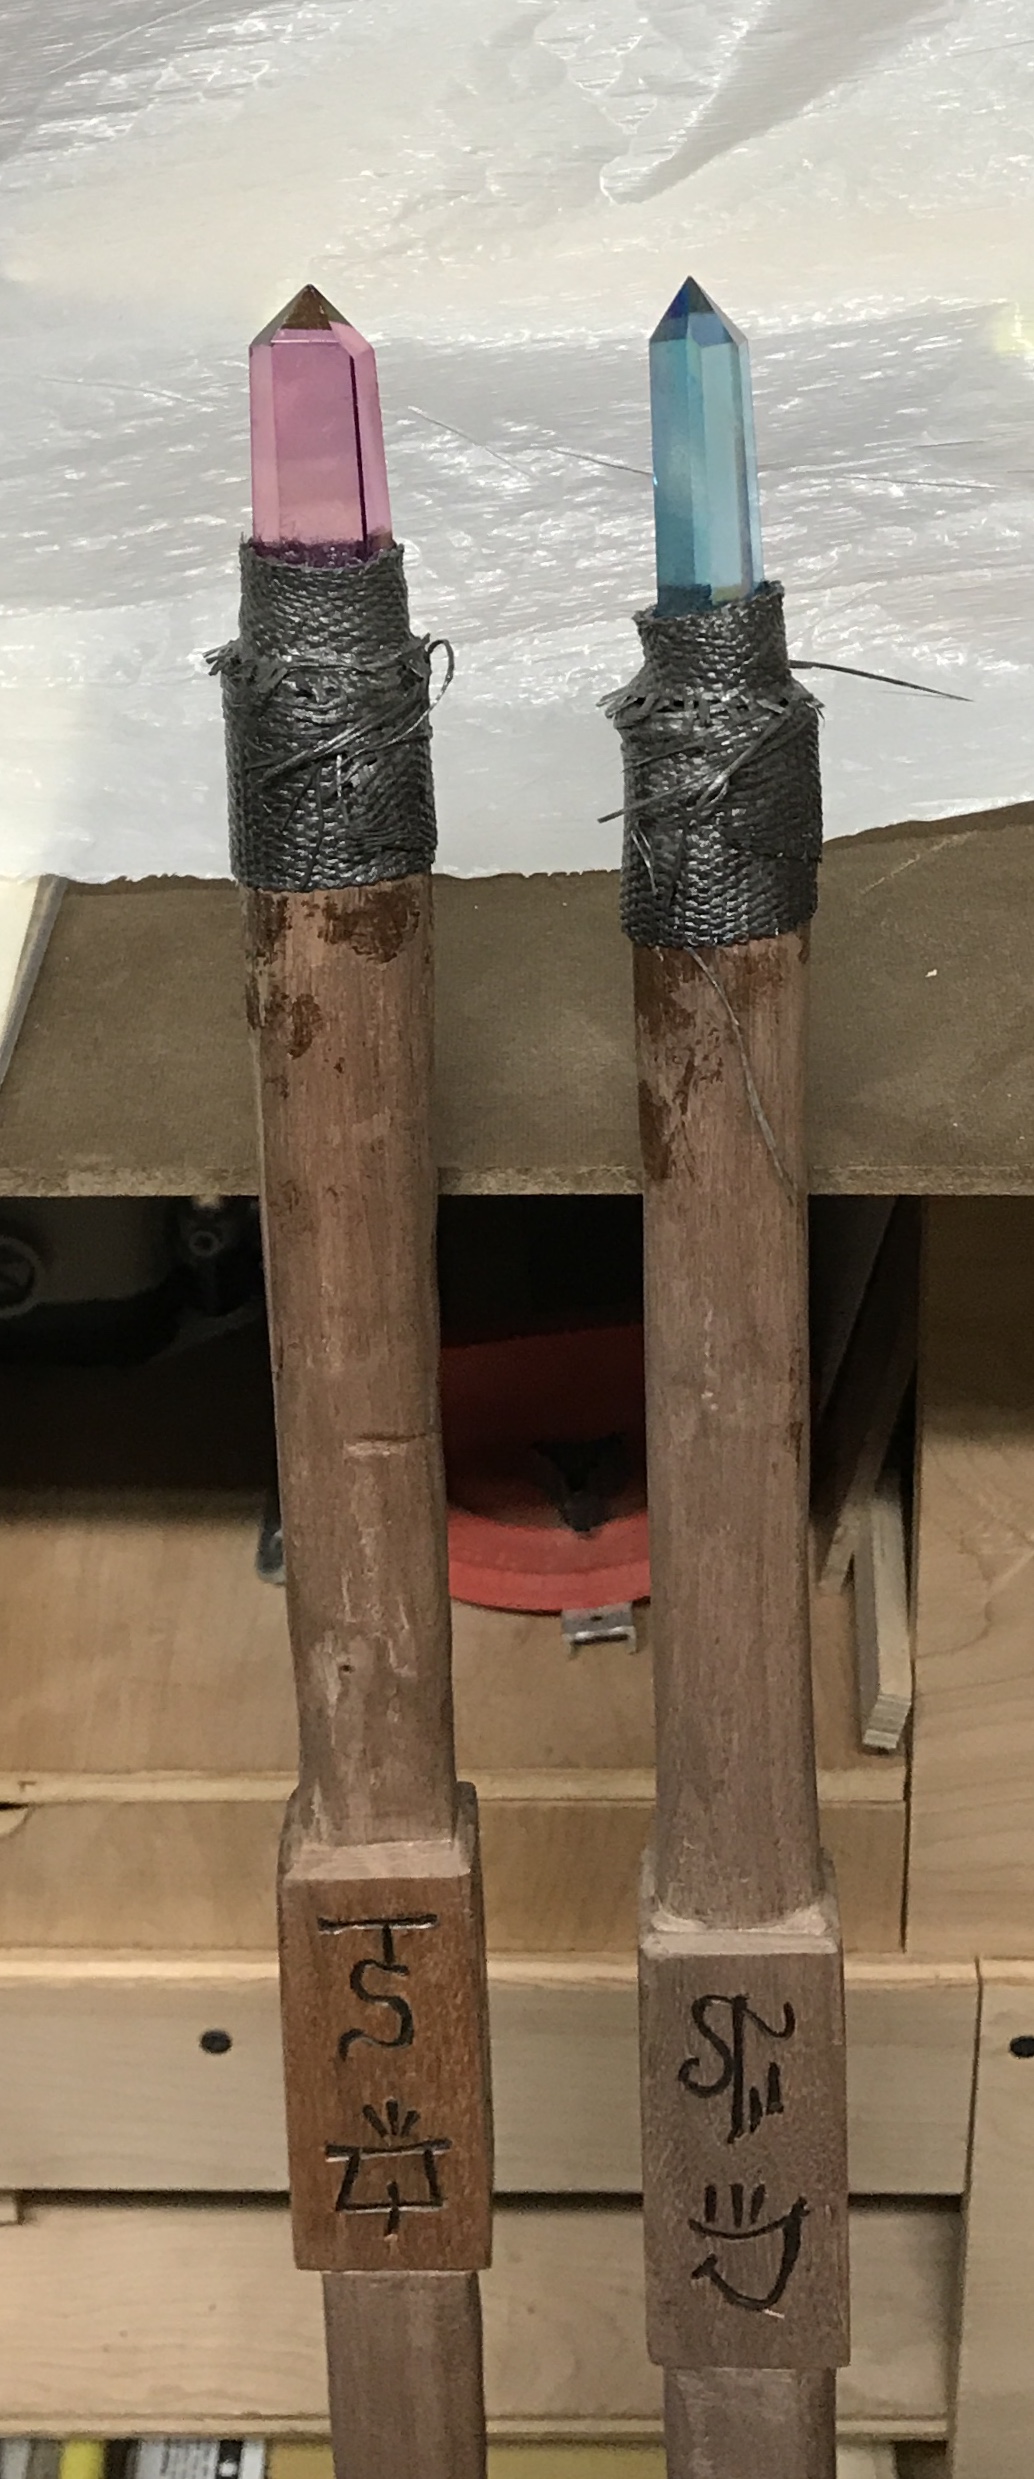
We next attempted to make cages out of the FiberFix. The staff was clamped upside down. An 8" piece of tape was cut 1" wide and dunked in the water bucket. This strip was twisted until it was a narrow strip between to 'tabs' at the ends. As we tried to hold the tape in place we decided that the cage was not going to look good. We stopped with what we had and decided to rethink cage making. The picture shows the two staffs with crystals attached.
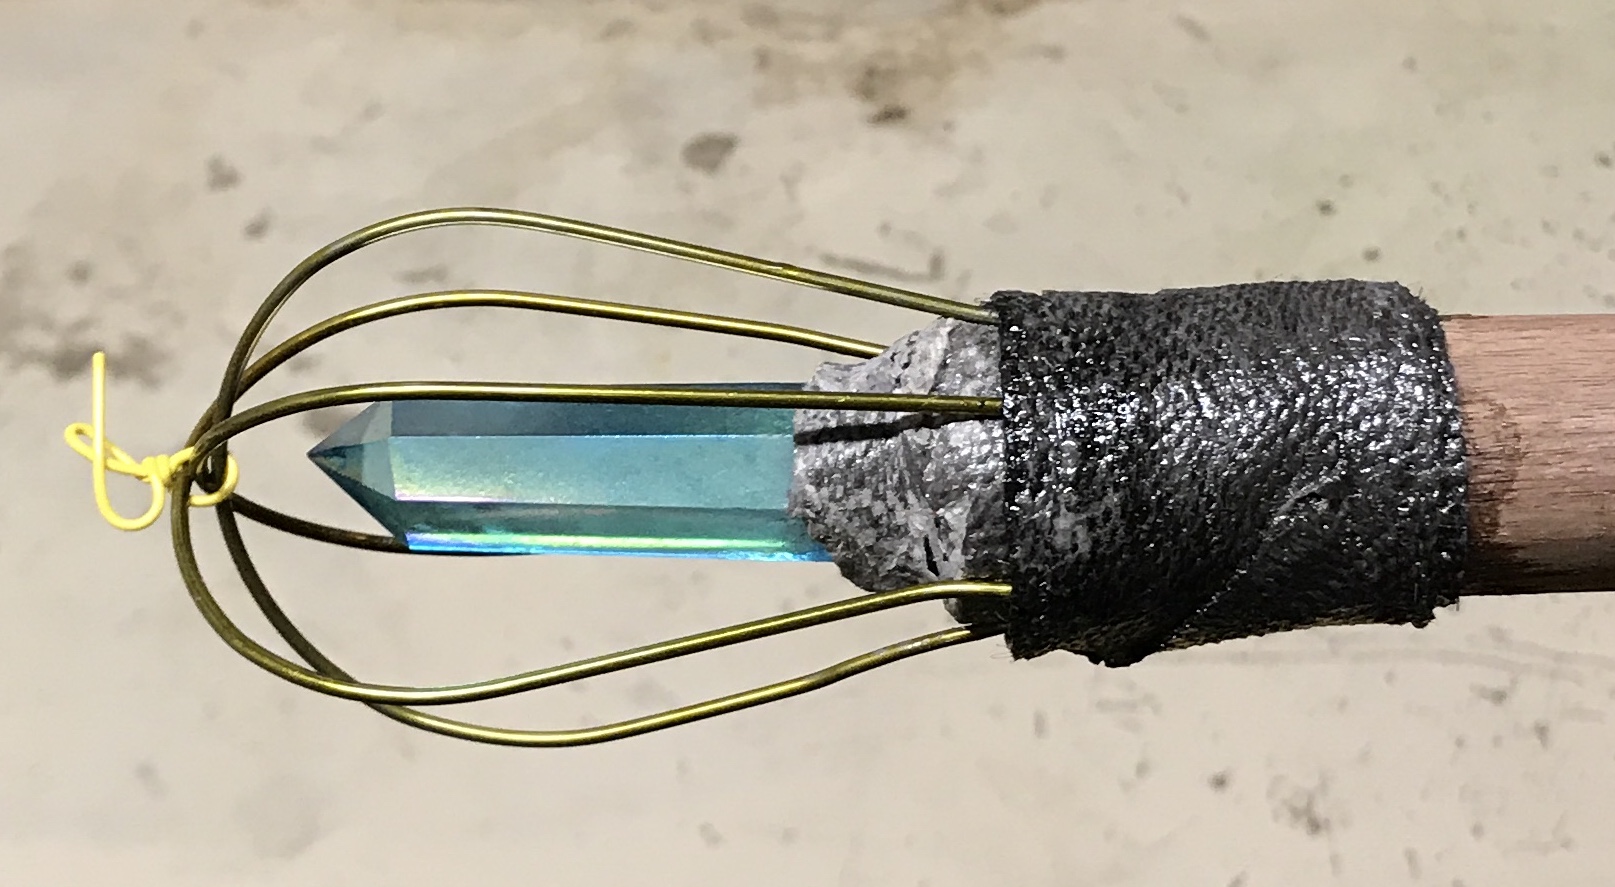
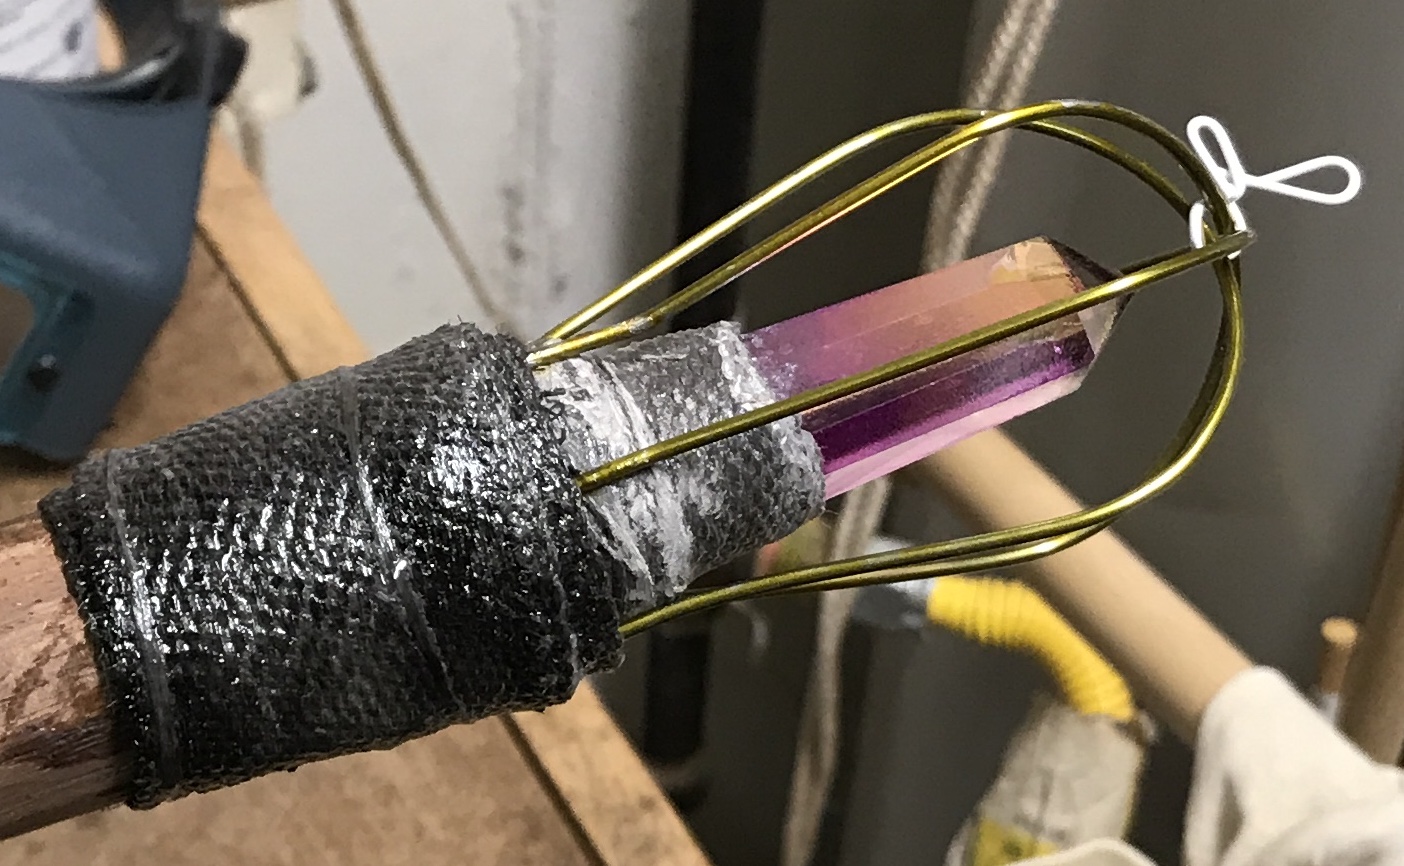
Stiff wire should make better cages and could also be attached with the FiberFix. Three stiff slacks-type coat hangers were gathered from my closet. Two approximately 10" wires were cut from each and straightened. A black pipe connector was clamped in the vise to use as a bending jig. The wires were bent completely around the connector. The last inch or so was slightly bent outward giving a U-shape with flared ends. A paper clip was used as a twist tie to hold three bent wires. When three were held around the crystal they formed a nice looking and sturdy cage as seen below.
The plan is to sand the hardened tape that has already been applied. A wire will be wrapped around the cage bottom to hold the three wires in place. Tape will then cover these wires and permanently attach them to the staff. A final sanding should be the last step prior to painting the tape and varnishing the staffs.
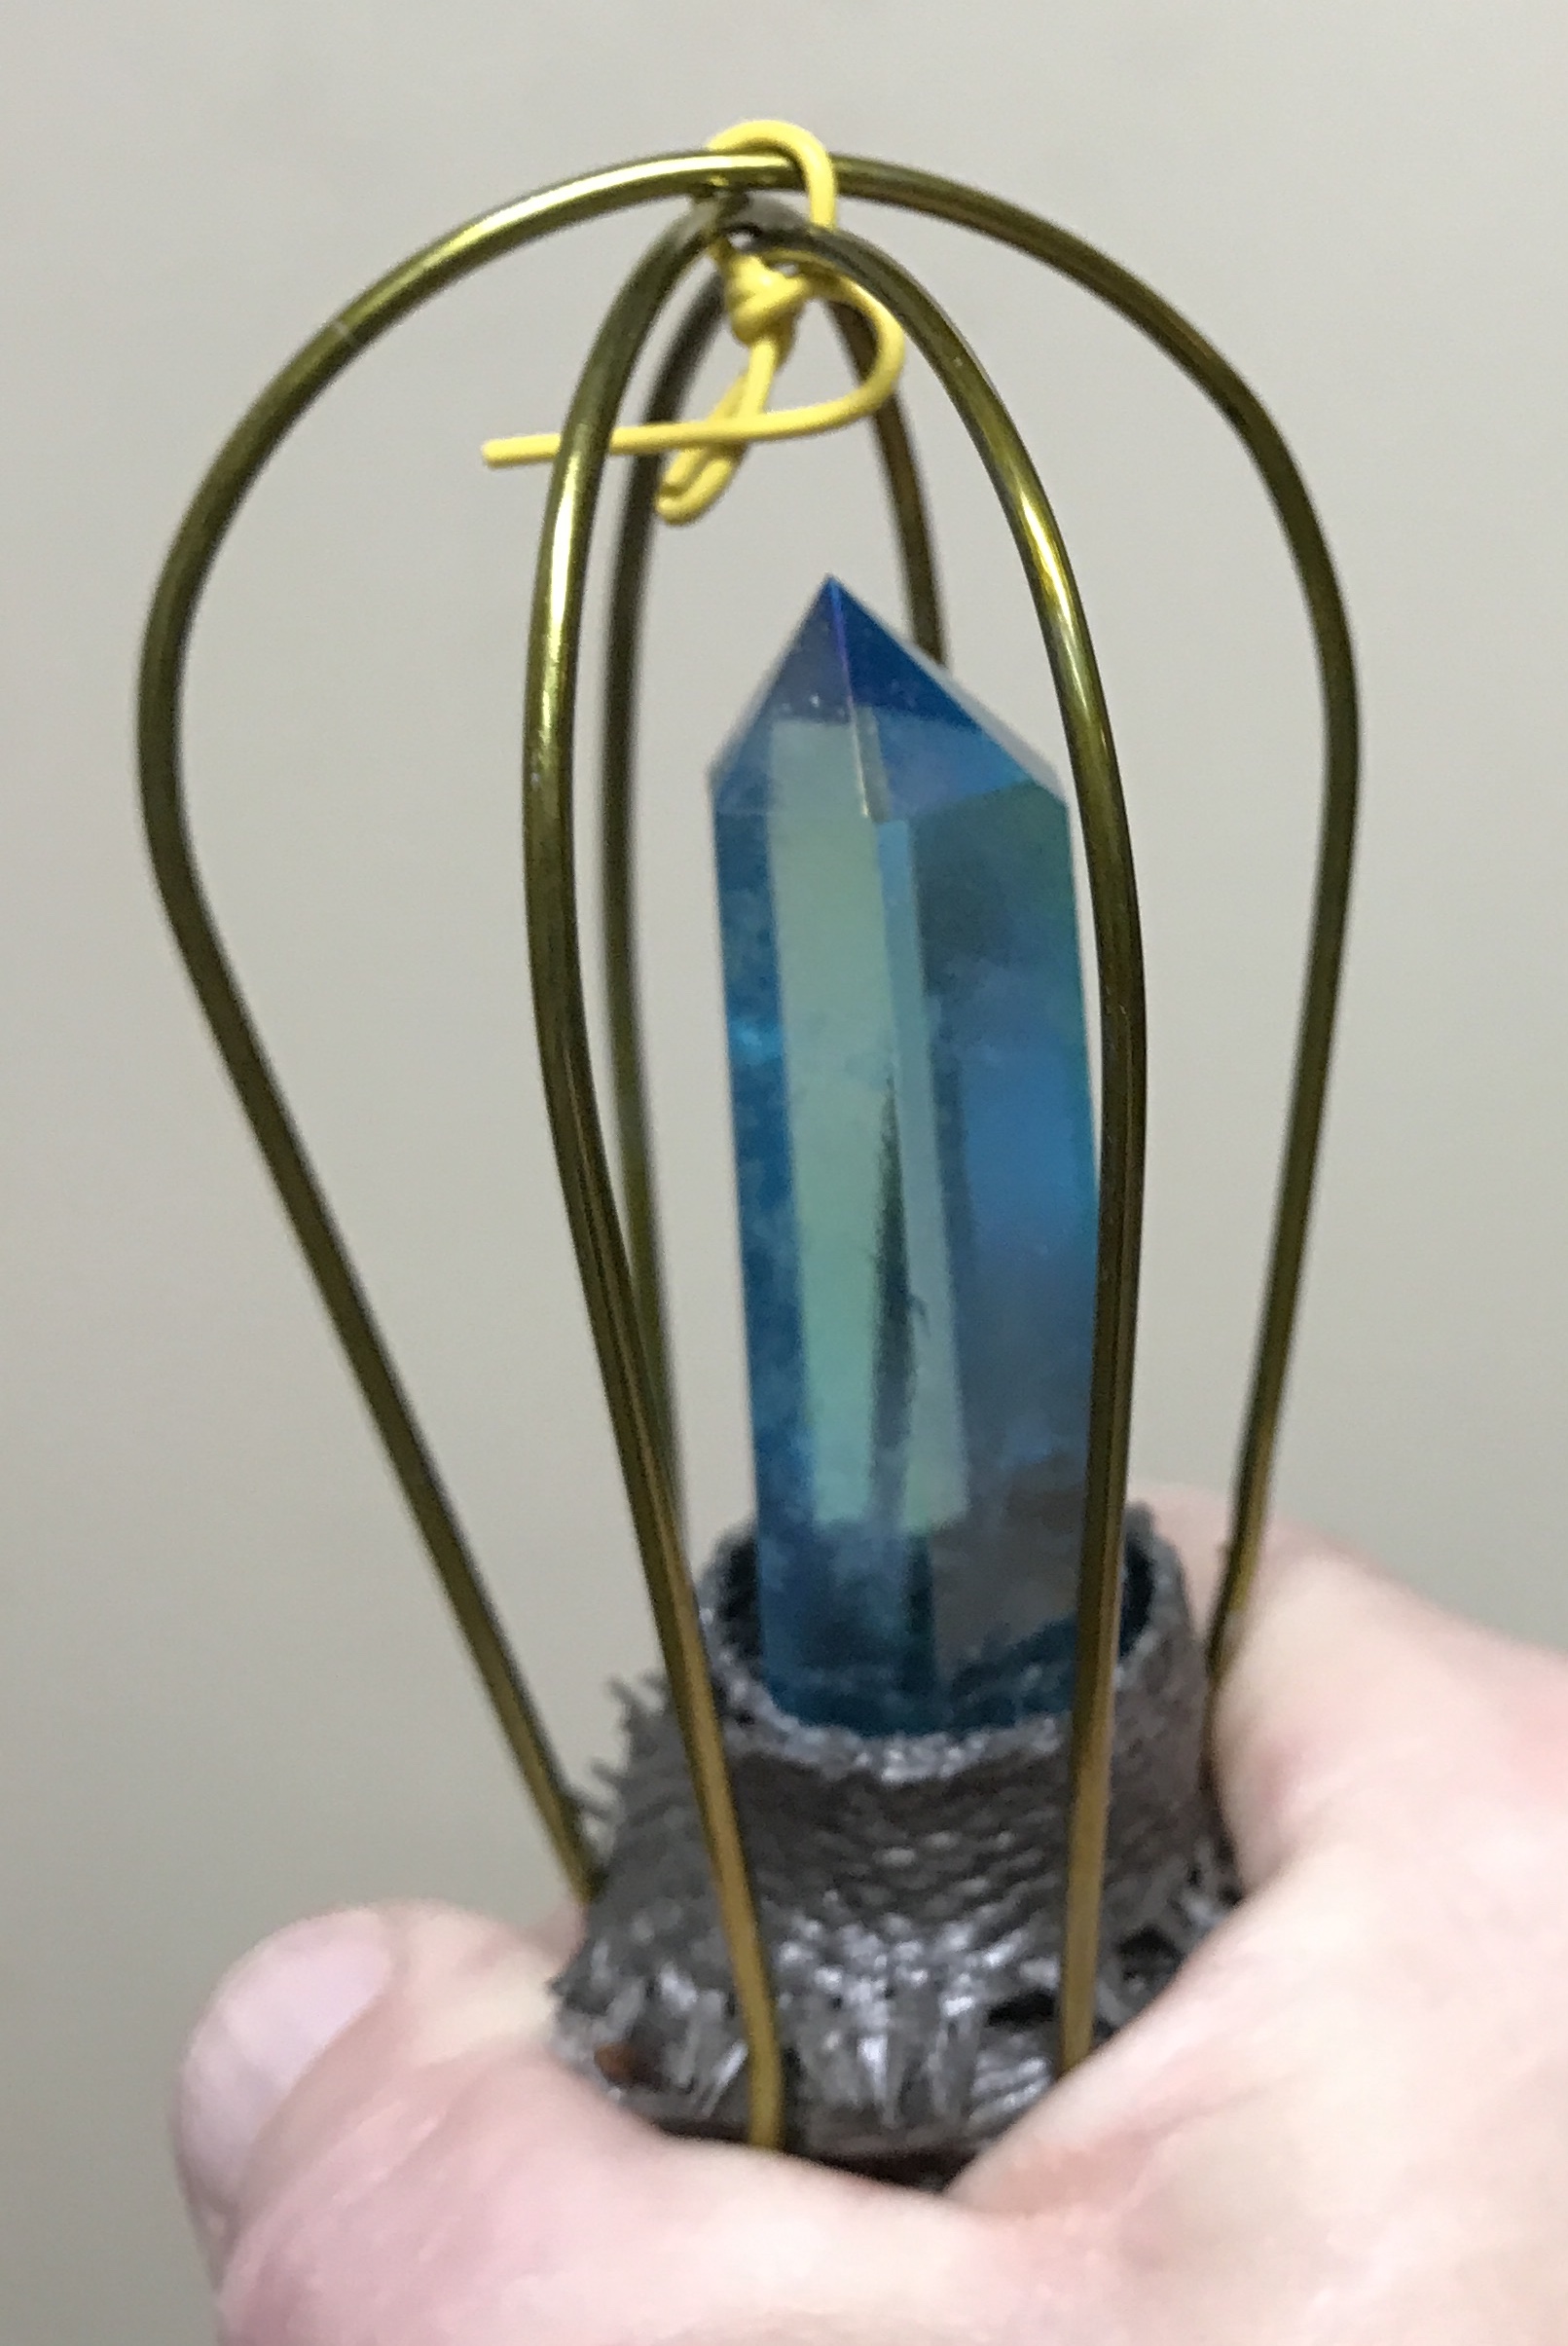
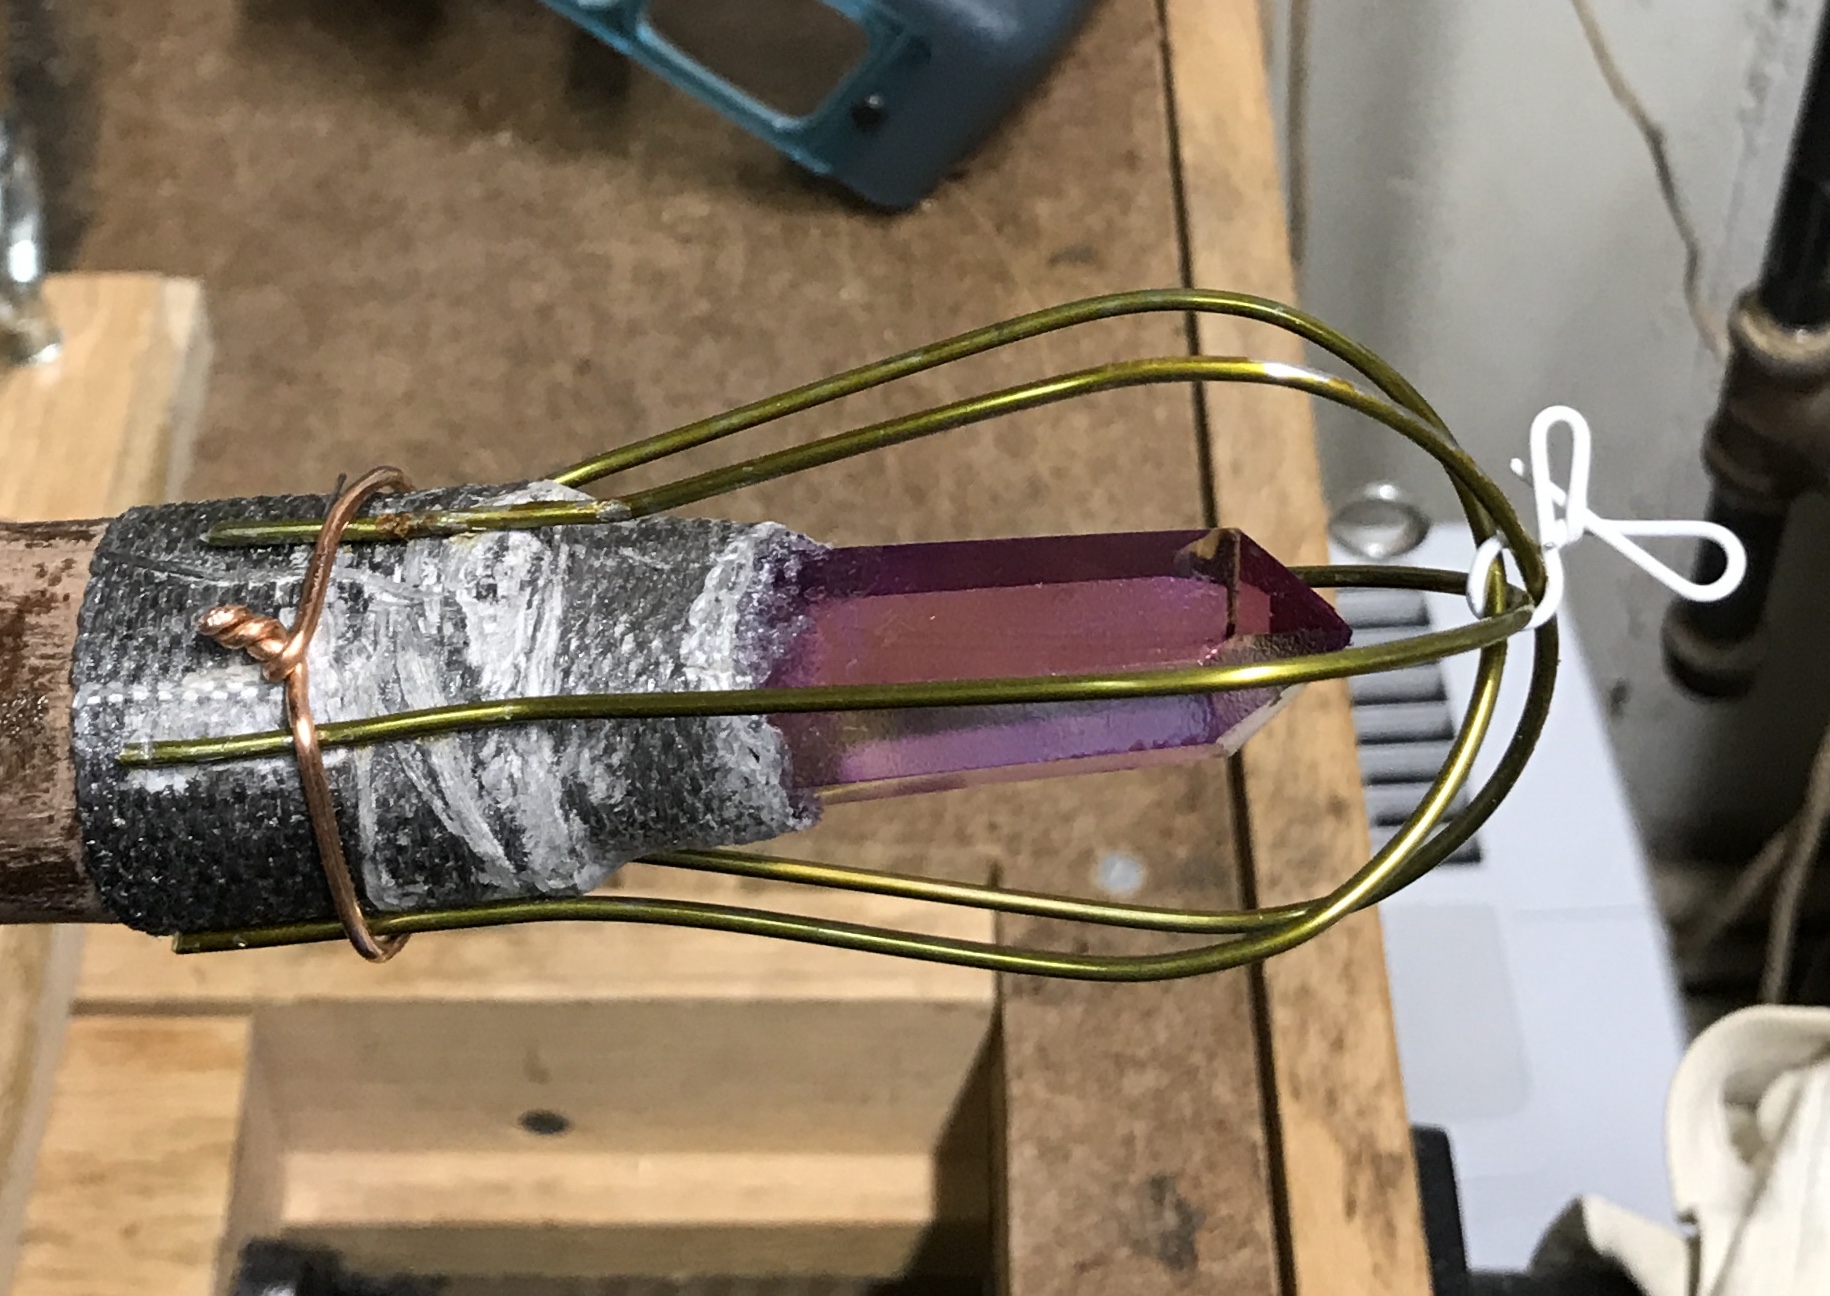
The Dremel with a cutting wheel followed by a detail sander were used to remove any loose or sharp bits. Sanding seemed to leave a fuzzy texture. The wires were placed around the crystal and clamped down with a length of copper wire. This worked out pretty well. The photo below shows the cage in place.
The final operation before painting was wrapping the bottoms of the cages with more FiberFix. This was quickly accomplished this morning. The two staffs with their final wrappings are shown below. Sanding and painting the tops need to be finished by tomorrow. Putting three coats of polyurethane will take four days: 1 day for three coats and three days for complete drying. That leaves two days before Hannukah begins.
Sanded the FiberFix with 100 grit by hand to get rid of the sharp edges. The wood just below the FiberFix was also sanded to remove any polymer that got on it. The wood was sanded to 320 grit. The crystal was covered with painter's tape and the wood down to and including the runes was also covered with painter's tape. Some spray paint was brought in from the cold garage: primer, clear coat, metallic silver, and beige. I will spray a sample with metallic silver and with the beige to determine which looks best. The silver paint only worked sporadically, so I had to go with the beige. It is a nice contrast with the varnished walnut. Two coats were applied. The staffs were left overnight to dry.
The staffs ends were drilled with a center drill. The staff was supported with a tailstock center held in the vise. The crystal end was supported with a notched block of wood. While holding the crystal end polyurethane varnish was brushed onto the staff. The staffs were left to dry for four hours between coats. Three coats were applied. This varnish will be allowed to dry for three days before sending.
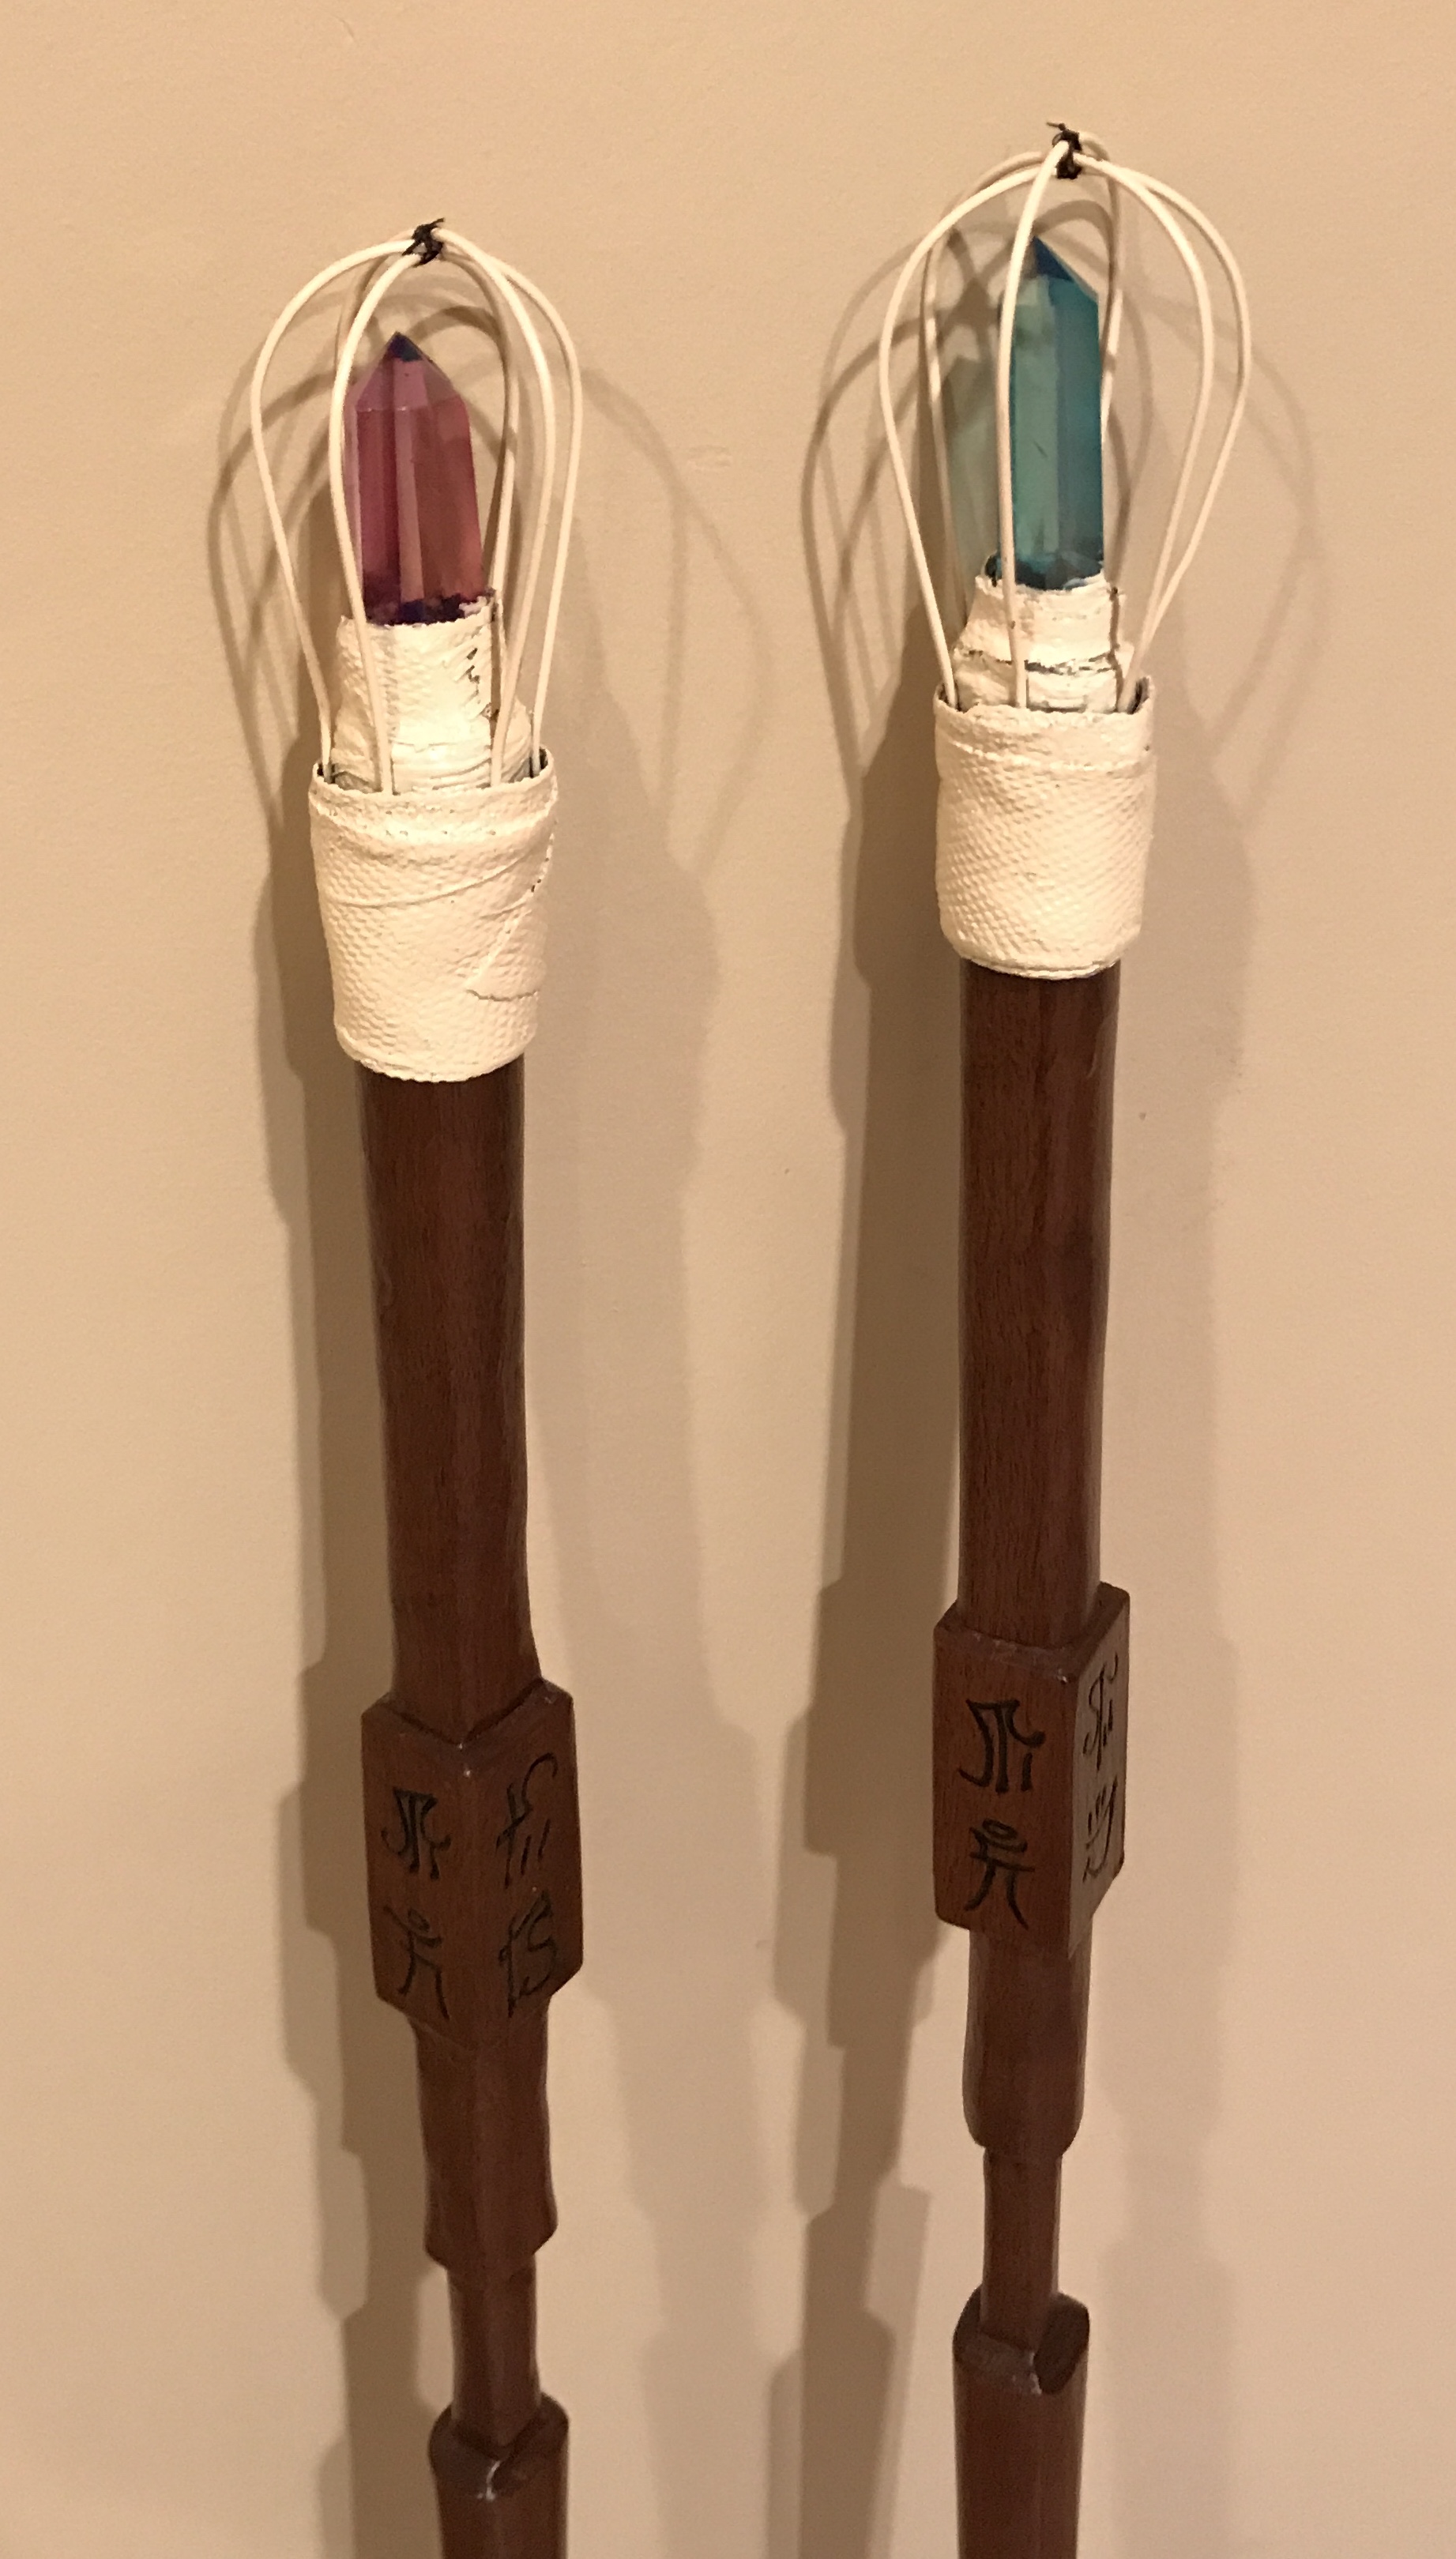
The final act was to put some thread around the spot where the three wires of the cage cross. The wires can move and this is to prevent that movement. A heavy duty black thread was used. Two final pictures of the two staffs are shown below. A picture of the user manuals is also included.